MXF workflow

Import Canon MXF into CyberLink PowerDirector

Check Canon MXF codec and camera-folder support in PowerDirector, then create and verify an MPEG-2 editing copy only when native import fails.

Updated September 11, 2026By

The free version limits many processing operations to the first three minutes. Check compatibility and trial limits.

  • MXF mediaCamera or broadcast MXF
  • Choose MPEG-2Output matched to this workflow
  • PowerDirector checkVerify before batch processing

Problem and solution

Identify the MXF codec before choosing a workflow.

Check the codec, audio layout, metadata, and camera folder structure, then confirm what the destination can import directly.

Prepare Canon MXF for PowerDirector

Canon MXF is a professional container, not a single codec. A Canon XF recording may use an MPEG-2 profile, while another camera or setting can produce different video, audio, or metadata. PowerDirector compatibility therefore depends on the installed release, operating system, codec, audio layout, and whether the complete camera folder is available.

Keep the Canon camera structure

Copy the complete card before editing and keep the folder hierarchy intact. Start by testing one original clip or the editor's camera-import workflow in the installed PowerDirector version. If a clip imports but loses timecode, audio, or spanned-clip relationships, return to the complete card structure instead of treating the standalone MXF as a complete project source.

Create an editing copy only when needed

If PowerDirector cannot import or preview the source reliably, create an editing copy using a profile documented for the installed version. The current workflow uses an MPEG-2 editing profile as a fallback; match the source resolution, frame rate, scan type, and audio layout to the project rather than choosing a preset from the filename alone. The transcode creates new media and should not be described as lossless.

Verify picture, audio, and timecode

Import one converted clip into PowerDirector and check picture detail, color, motion, audio channels, timecode, clip duration, and sync. Check both the beginning and end of a long or spanned recording, then retain the original Canon folders until the complete batch has passed the same test.
Solution direction

Apply the solution in the workflow below.

Check Canon MXF codec and camera-folder support in PowerDirector, then create and verify an MPEG-2 editing copy only when native import fails.

Three-step workflow

Create and verify one test output before processing the full batch.

Check Canon MXF codec and camera-folder support in PowerDirector, then create and verify an MPEG-2 editing copy only when native import fails.

01

Add the source

Load the Canon MXF clips

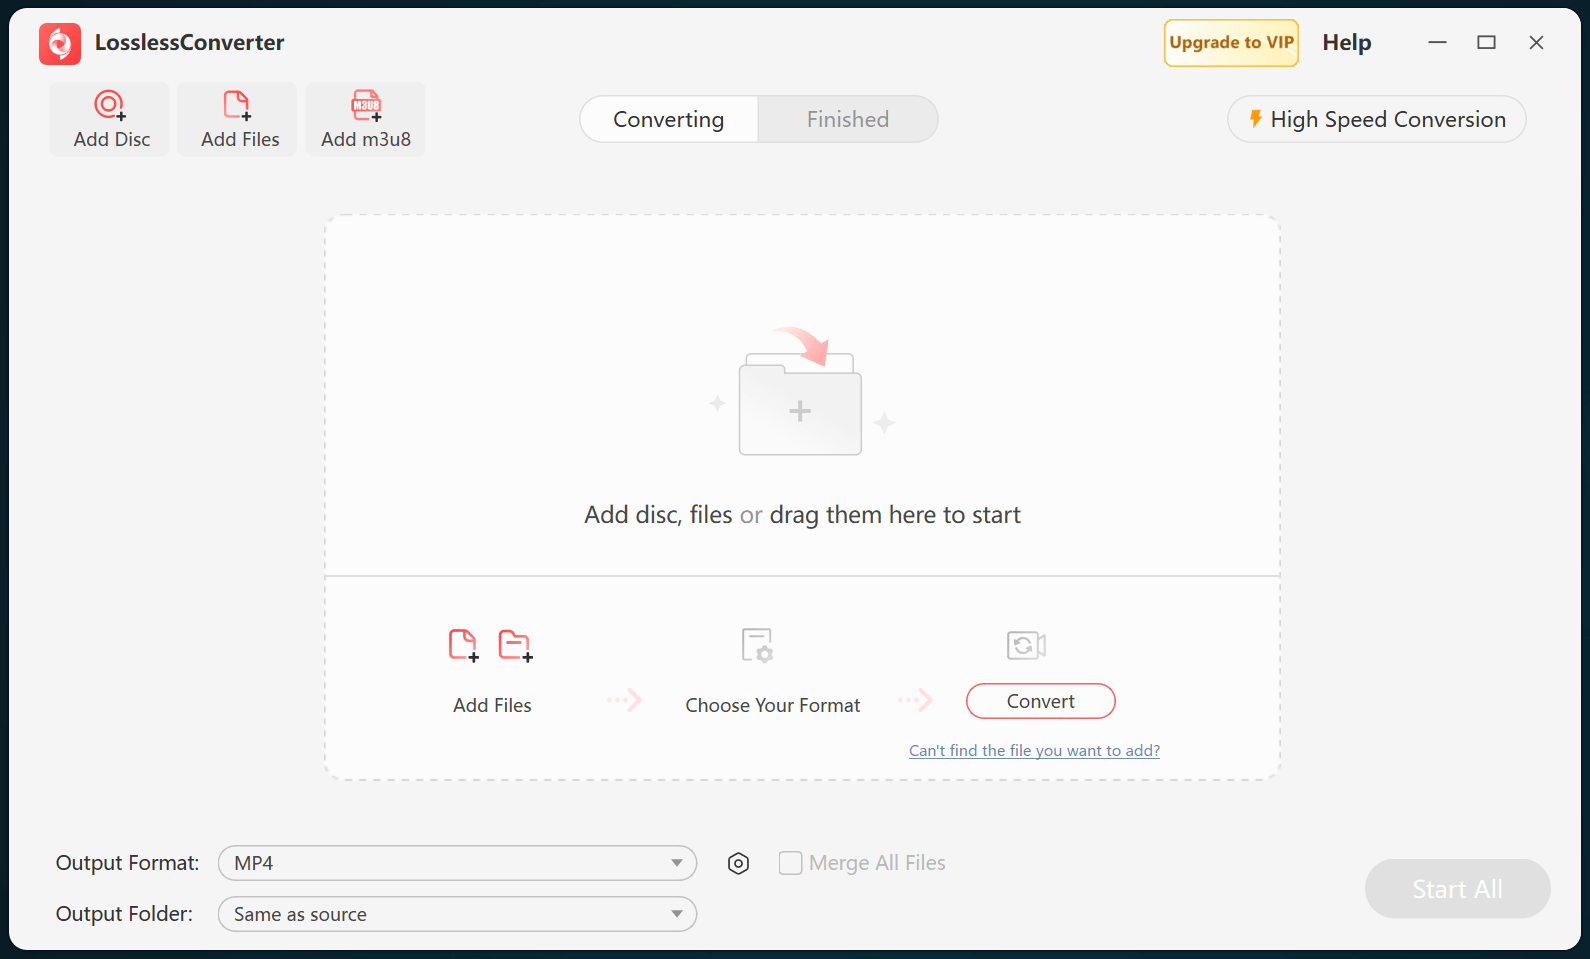
Open LosslessConverter and select Add Files. Add the Canon MXF clips and select the files required for this workflow.

LosslessConverter main window with the source controls visible
Source toolbarLoad the source from the main toolbar.
02

Match the editing application

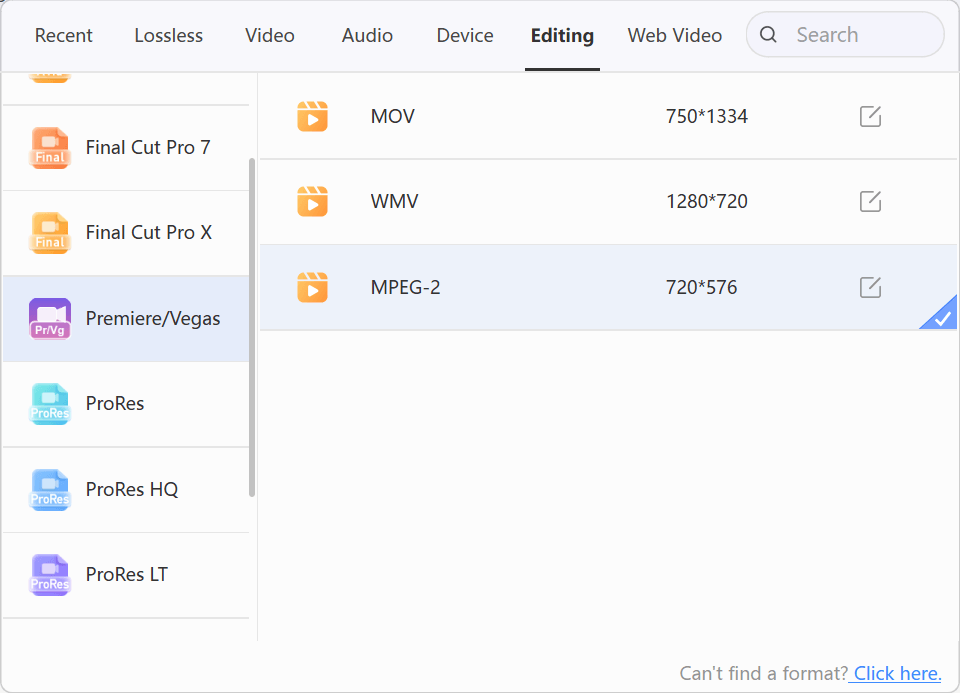
Choose Editing > Premiere/VEGAS > MPEG-2

Open Output Format, select the Editing group, choose Premiere/VEGAS, and select MPEG-2. Match the resolution and frame rate to the editing sequence.

LosslessConverter Output Format menu with Premiere VEGAS and MPEG-2 selected
MPEG-2Select Premiere/VEGAS, then choose MPEG-2.
03

Create the current output

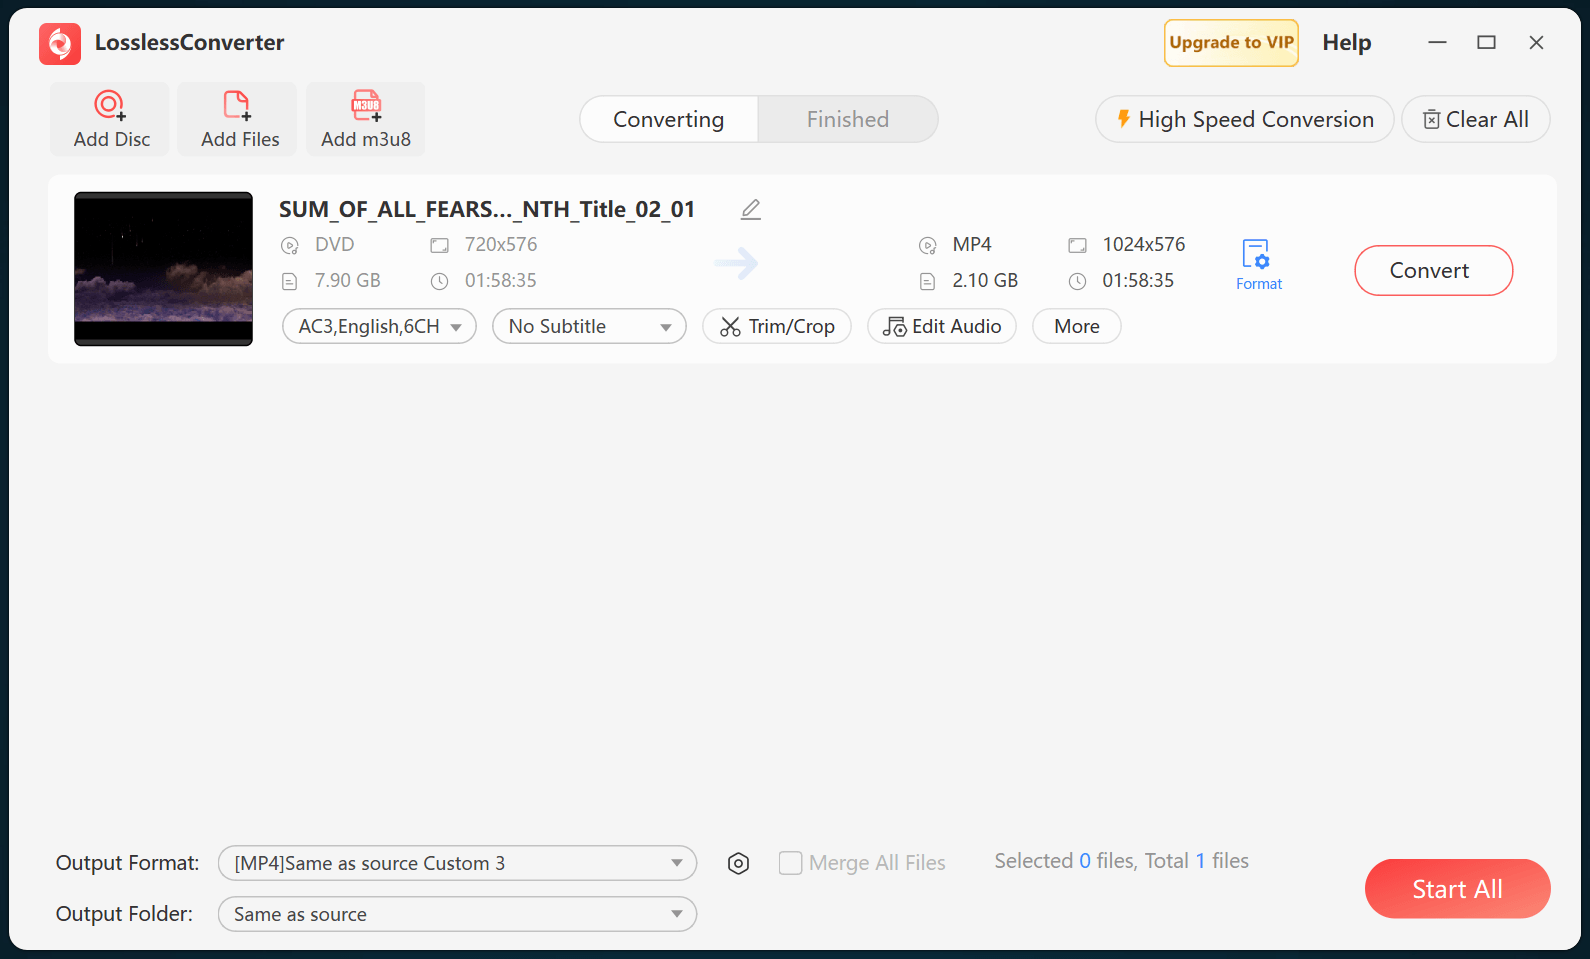
Select Start All, then verify in PowerDirector

Choose an output folder and select Start All. When processing finishes, import the MPEG-2 files into PowerDirector and verify picture, frame rate, and audio.

LosslessConverter main window with Start All ready at the lower right
Start AllRun the task, then verify the result.

Try it with your own media

Process one file, verify the result, then run the full batch.

The free version limits many processing operations to the first three minutes. Check compatibility and trial limits.