MXF workflow

Convert Canon MXF for VEGAS Pro editing

Use an edit-friendly MPEG-2 profile when native MXF playback is unreliable.

Updated September 11, 2026By

The free version limits many processing operations to the first three minutes. Check compatibility and trial limits.

  • MXF mediaCamera or broadcast MXF
  • Choose MPEG-2Output matched to this workflow
  • VEGAS Pro checkVerify before batch processing

Problem and solution

Identify the MXF codec before choosing a workflow.

Check the codec, audio layout, metadata, and camera folder structure, then confirm what the destination can import directly.

Prepare Canon MXF for VEGAS Pro

Canon XF recordings use an MXF camera structure whose codec, audio layout, metadata, and spanned clips can vary by model and recording mode. Keep the complete card folder and try the original media in the current VEGAS Pro release before converting it. If the source already imports and plays reliably, re-encoding it only because it ends in .mxf adds an unnecessary generation loss.

When native import fails, decoding is unstable, or the project requires a common editing profile, create the MPEG-2 output described below. Match the VEGAS Pro project resolution, frame rate, field order, and audio layout, then preserve the original Canon media until the edit has been checked.

Check Canon XF media before converting

Use the original folder structure whenever possible so VEGAS Pro can see clip metadata and any spanned recording information. Inspect one representative clip for picture, audio channels, timecode, duration, and interlacing. A short test can reveal a missing stream or cadence problem before a long batch is processed.

Choose MPEG-2 for the editing sequence

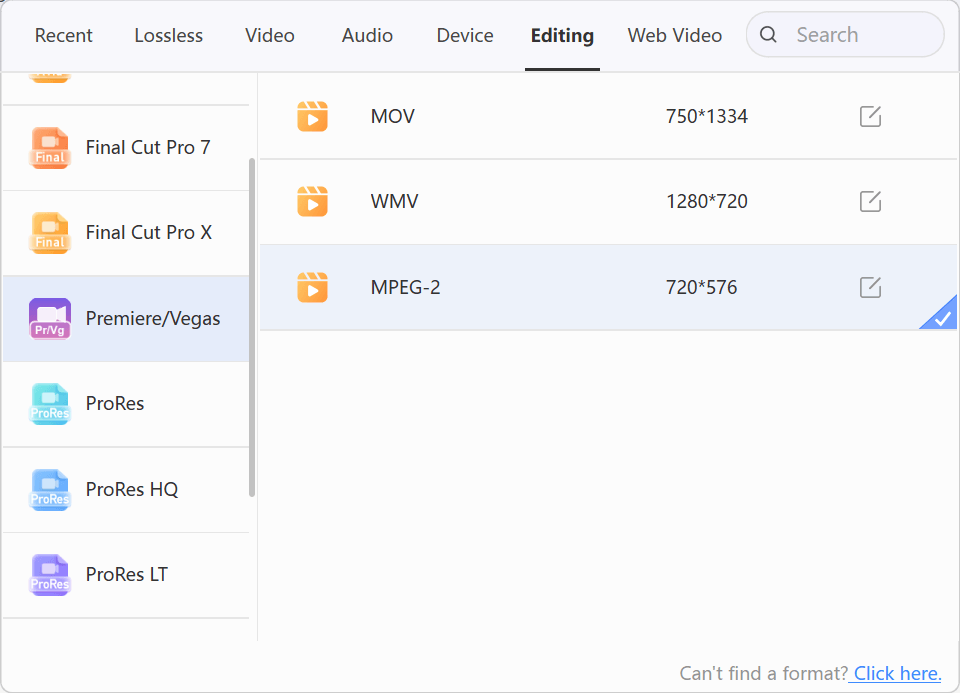
Open Output Format > Editing > Premiere/VEGAS > MPEG-2 and choose the profile that matches the sequence. The output is an editing copy, not a bit-for-bit preservation of the MXF. Keep the source resolution and frame rate unless the project deliberately uses another format, and avoid upscaling standard-definition footage.

Verify the VEGAS Pro editing copy

Import the test file into the actual VEGAS Pro project and inspect motion, field order, dialogue, channel mapping, timecode, clip duration, and sync. Only after that check passes should you convert the remaining clips; retain the Canon card folder as the camera master.
Solution direction

Apply the solution in the workflow below.

Use an edit-friendly MPEG-2 profile when native MXF playback is unreliable.

Three-step workflow

Create and verify one test output before processing the full batch.

Use an edit-friendly MPEG-2 profile when native MXF playback is unreliable.

01

Add the source

Load the Canon MXF clips

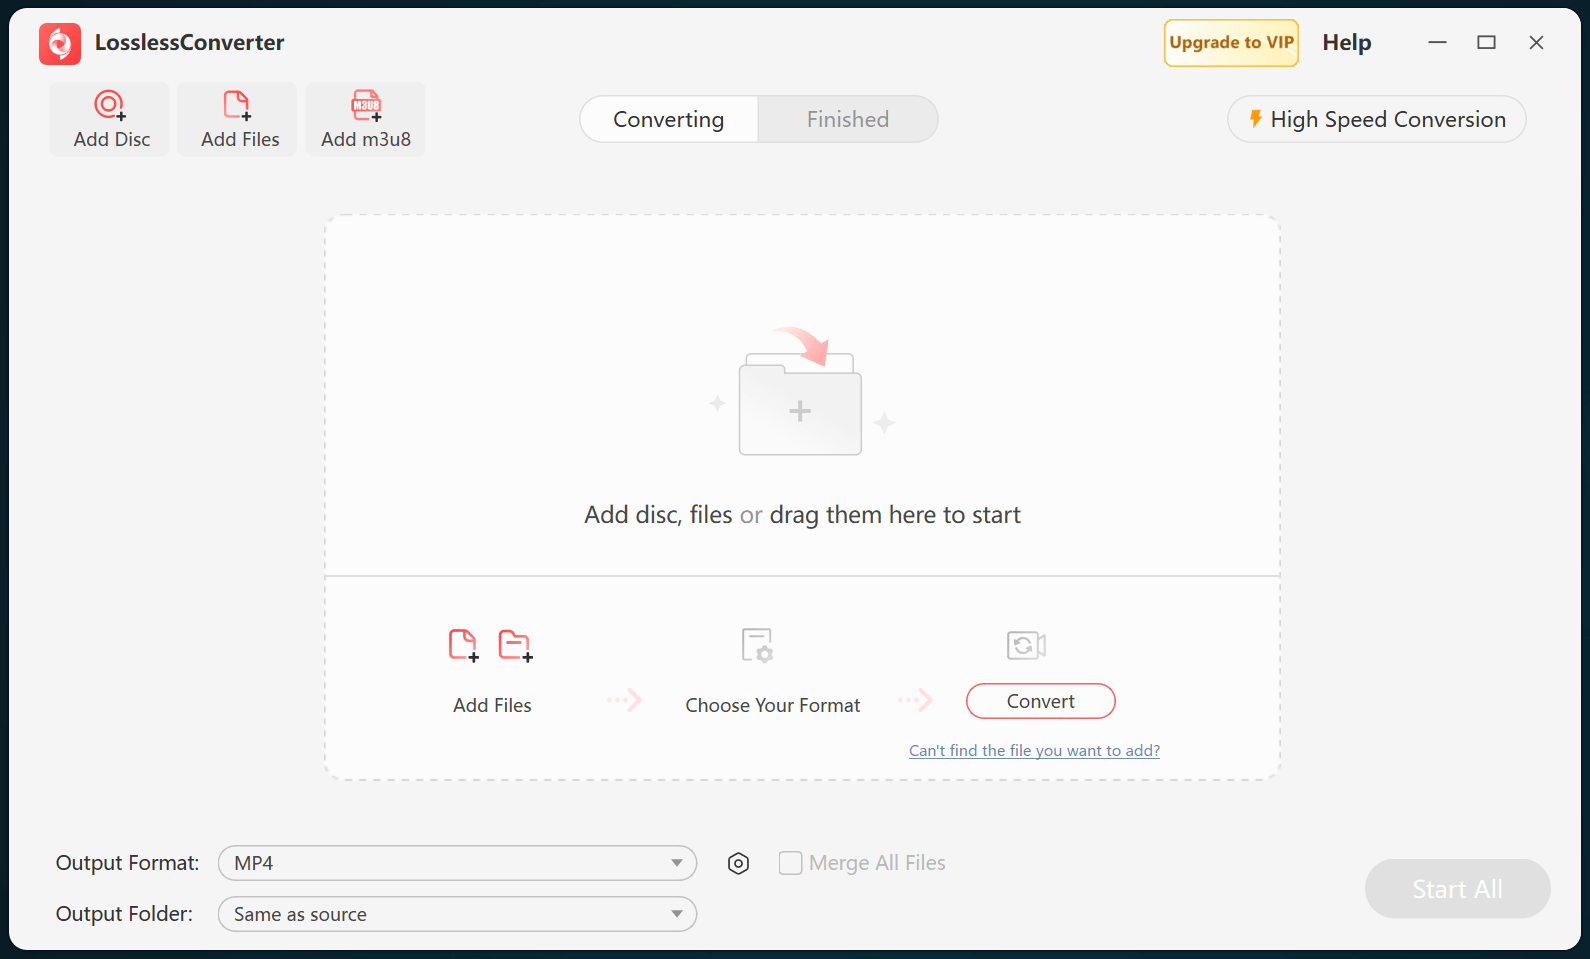
Open LosslessConverter and select Add Files. Add the Canon MXF clips and select the files required for this workflow.

LosslessConverter main window with the source controls visible
Source toolbarLoad the source from the main toolbar.
02

Match the editing application

Choose Editing > Premiere/VEGAS > MPEG-2

Open Output Format, select the Editing group, choose Premiere/VEGAS, and select MPEG-2. Match the resolution and frame rate to the editing sequence.

LosslessConverter Output Format menu with Premiere VEGAS and MPEG-2 selected
MPEG-2Select Premiere/VEGAS, then choose MPEG-2.
03

Create the current output

Select Start All, then verify in VEGAS Pro

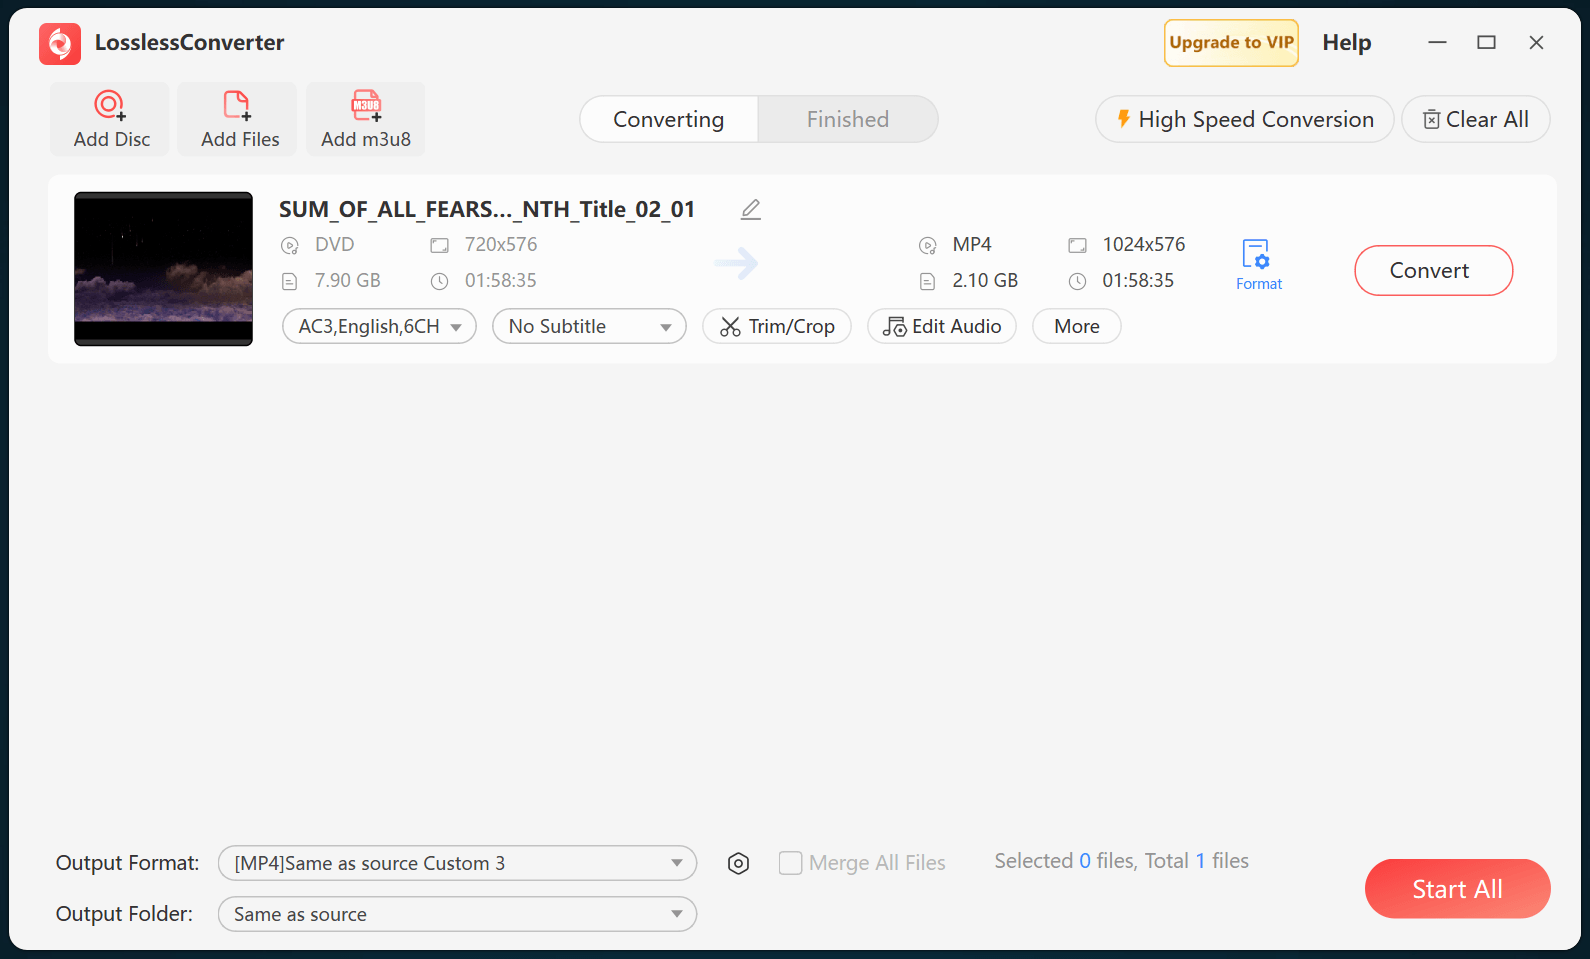
Choose an output folder and select Start All. When processing finishes, import the MPEG-2 files into VEGAS Pro and verify picture, frame rate, and audio.

LosslessConverter main window with Start All ready at the lower right
Start AllRun the task, then verify the result.

Try it with your own media

Process one file, verify the result, then run the full batch.

The free version limits many processing operations to the first three minutes. Check compatibility and trial limits.