MXF workflow

Import Panasonic P2 MXF into VEGAS Pro

Try the complete Panasonic P2 structure first, then create a supported editing copy when VEGAS Pro cannot import it reliably.

Updated September 4, 2026By

The free version limits many processing operations to the first three minutes. Check compatibility and trial limits.

  • MXF mediaCamera or broadcast MXF
  • Match VEGAS ProOutput matched to this workflow
  • VEGAS Pro checkVerify before batch processing

Problem and solution

Identify the MXF codec before choosing a workflow.

Check the codec, audio layout, metadata, and camera folder structure, then confirm what the destination can import directly.

Prepare Panasonic P2 MXF for VEGAS Pro

Start with the complete Panasonic P2 card structure so VEGAS Pro can use its clip metadata and related media files. Native import support depends on the codec, MXF operational pattern, audio layout, and installed VEGAS components.

If the source remains unsupported or timeline playback is unreliable, create a documented editing format that matches the project and verify picture, audio, timecode, clip duration, and sync before processing the full card.
Solution direction

Apply the solution in the workflow below.

Try the complete Panasonic P2 structure first, then create a supported editing copy when VEGAS Pro cannot import it reliably.

Three-step workflow

Create and verify one test output before processing the full batch.

Try the complete Panasonic P2 structure first, then create a supported editing copy when VEGAS Pro cannot import it reliably.

01

Add the source

Load the Panasonic P2 media

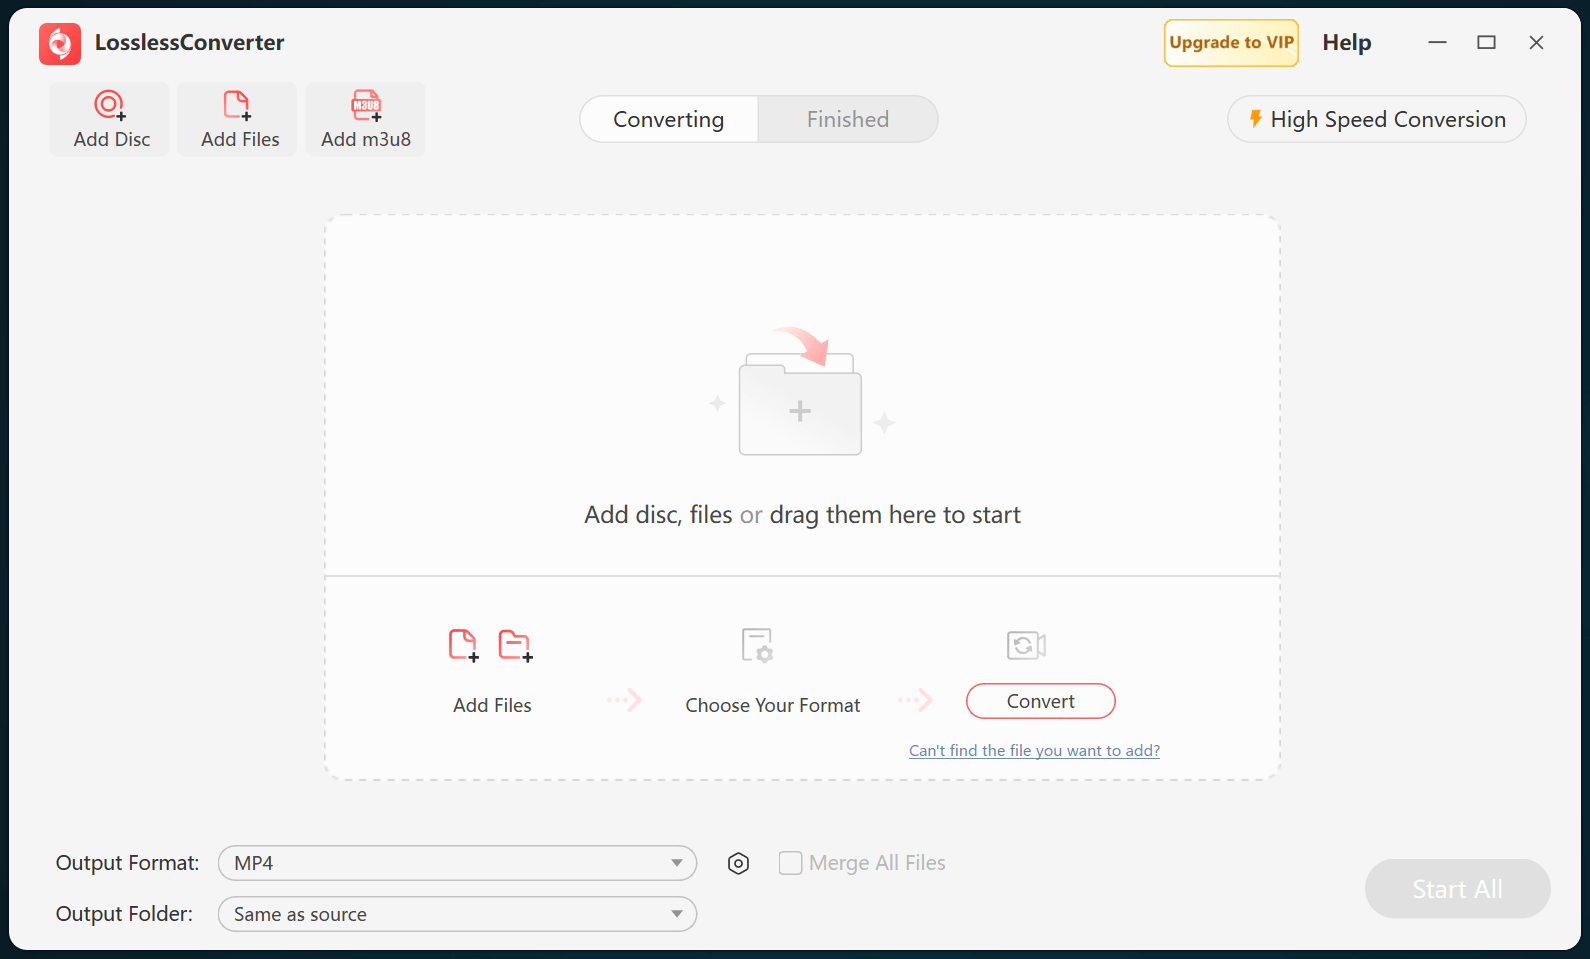
First try importing the complete original Panasonic P2 card structure in VEGAS Pro. If the codec, MXF operational pattern, or audio layout remains unsupported, open LosslessConverter, select Add Files, and add the required P2 MXF clips for an editing fallback.

LosslessConverter main window with the source controls visible
Source toolbarLoad the source from the main toolbar.
02

Create a P2 editing fallback

Choose a VEGAS-compatible editing profile

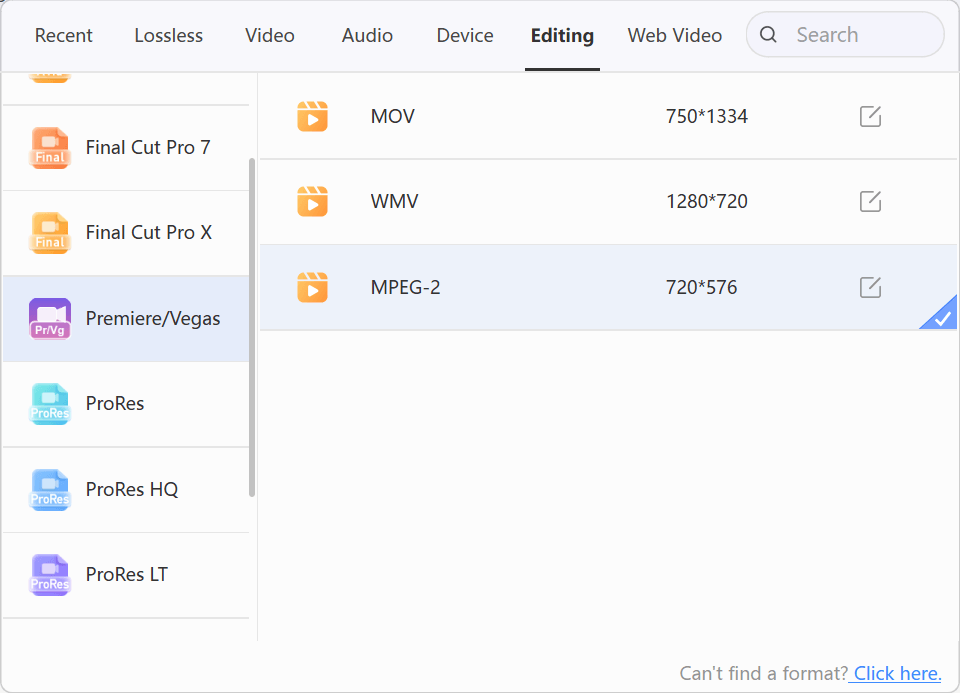
When native P2 import fails, open Output Format, select the Editing group, and choose a profile documented for the installed VEGAS Pro release. Match resolution, frame rate, scan type, audio layout, and timecode requirements to the project.

LosslessConverter Output Format menu with Premiere VEGAS and MPEG-2 selected
MPEG-2Select Premiere/VEGAS, then choose MPEG-2.
03

Create the current output

Select Start All, then verify in VEGAS Pro

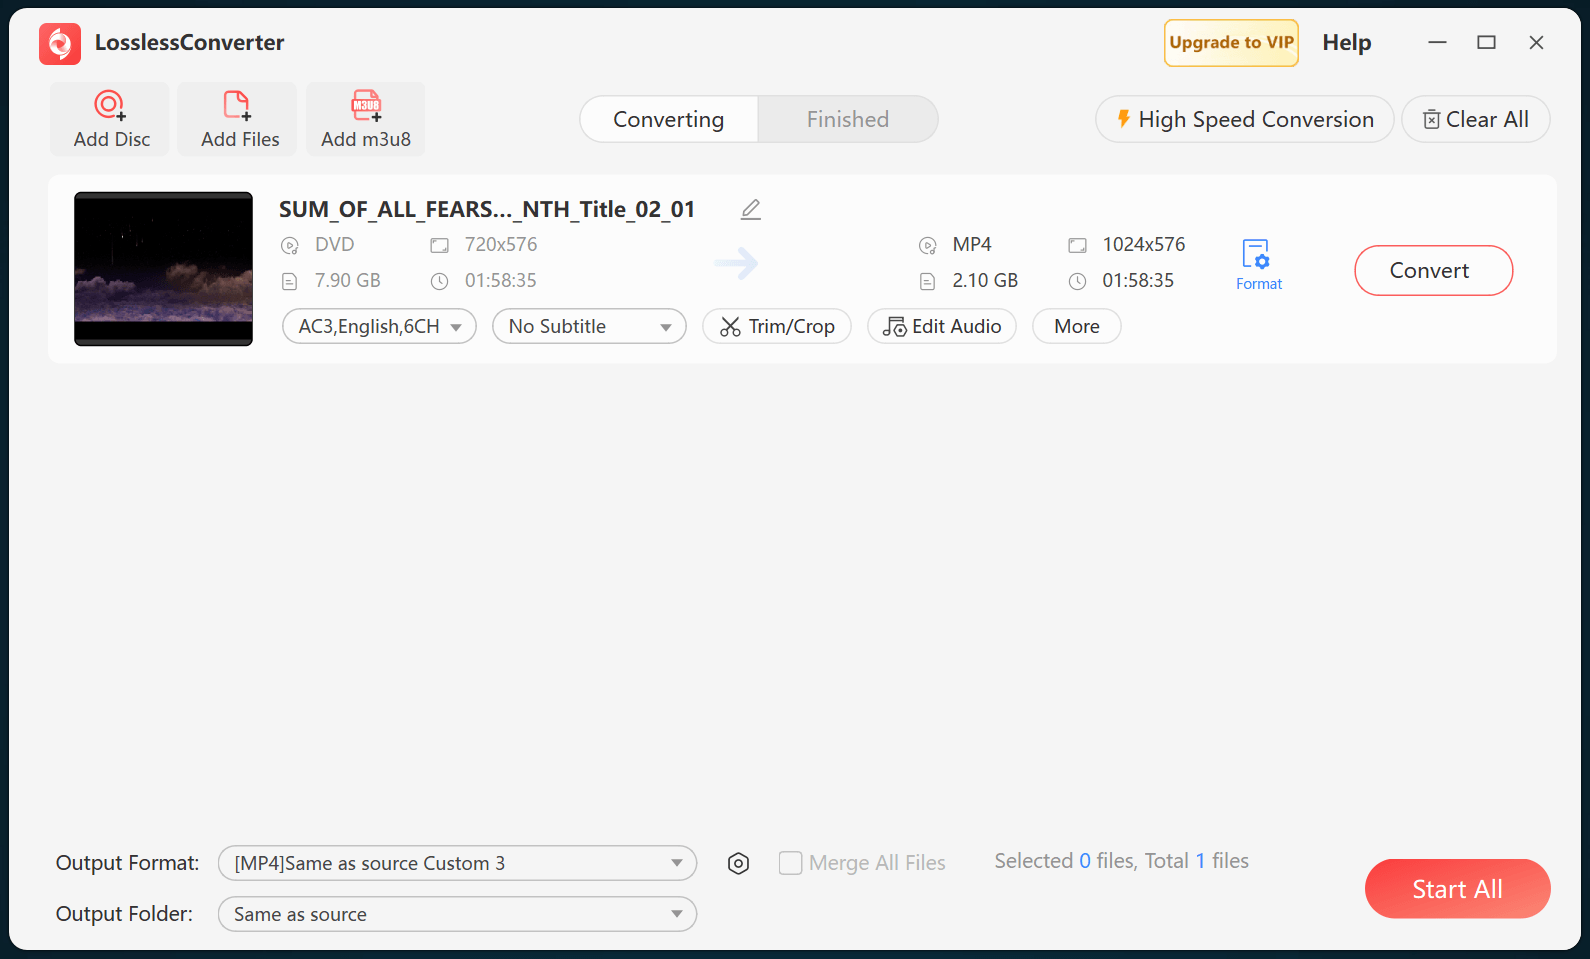
Choose an output folder and select Start All. When processing finishes, import the editing copies into VEGAS Pro and verify picture, frame rate, scan type, timecode, audio layout, clip duration, and sync.

LosslessConverter main window with Start All ready at the lower right
Start AllRun the task, then verify the result.

Try it with your own media

Process one file, verify the result, then run the full batch.

The free version limits many processing operations to the first three minutes. Check compatibility and trial limits.

Primary sources

Official references for this workflow

Use these first-party references to confirm current format, application, or device support. Capabilities can change after this guide is updated.