MXF workflow

Convert Canon MXF on Windows or Mac

Choose an editor-ready or playback format based on the source codec and destination.

Updated September 4, 2026By

The free version limits many processing operations to the first three minutes. Check compatibility and trial limits.

  • MXF mediaCamera or broadcast MXF
  • Choose MP4Output matched to this workflow
  • Windows or Mac playback checkVerify before batch processing

Before you begin

Identify the MXF codec before choosing a workflow.

Check the codec, audio layout, metadata, and camera folder structure, then confirm what the destination can import directly.

How to Convert Canon MXF Video on Mac and Windows

Canon released XF Utility software to their MXF videos which provides a simplified first step in the process of managing and playing back your clips, without the use of full-blown NLE software. It offers various options for managing and playing back clips recorded with Canon HD camcorders compatible with MXF files.

Why Canon Released XF Utility?

Canon adopts MPEG-2 for the Professional Camcorder to ensure their videos have the widest compatibility with existing industry infrastructure and non-linear editing (NLE) systems. However, the MXF codec provides the bandwidth needed to capture the superior resolution and color in spectacular detail which is difficult for common players to afford. So, Canon released a third app-XF Utility to help users to play videos.

Problems in Editing or Playing Canon MXF videos?

It also enables you to adjust video brightness, contrast, saturation and volume control. The equivalent Windows version is the Canon LosslessConverter for Windows, which can convert Canon MXF to play anywhere, anytime without hassle in Windows (Windows). Just get it now and follow the steps below to transfer Canon MXF files for smooth playing, editing or uploading.

How to Transcode Canon MXF files on Mac and Windows
Workflow direction

Follow the intended workflow below.

Choose an editor-ready or playback format based on the source codec and destination.

Three-step workflow

Create and verify one test output before processing the full batch.

Choose an editor-ready or playback format based on the source codec and destination.

01

Add the source

Load the Canon MXF clips

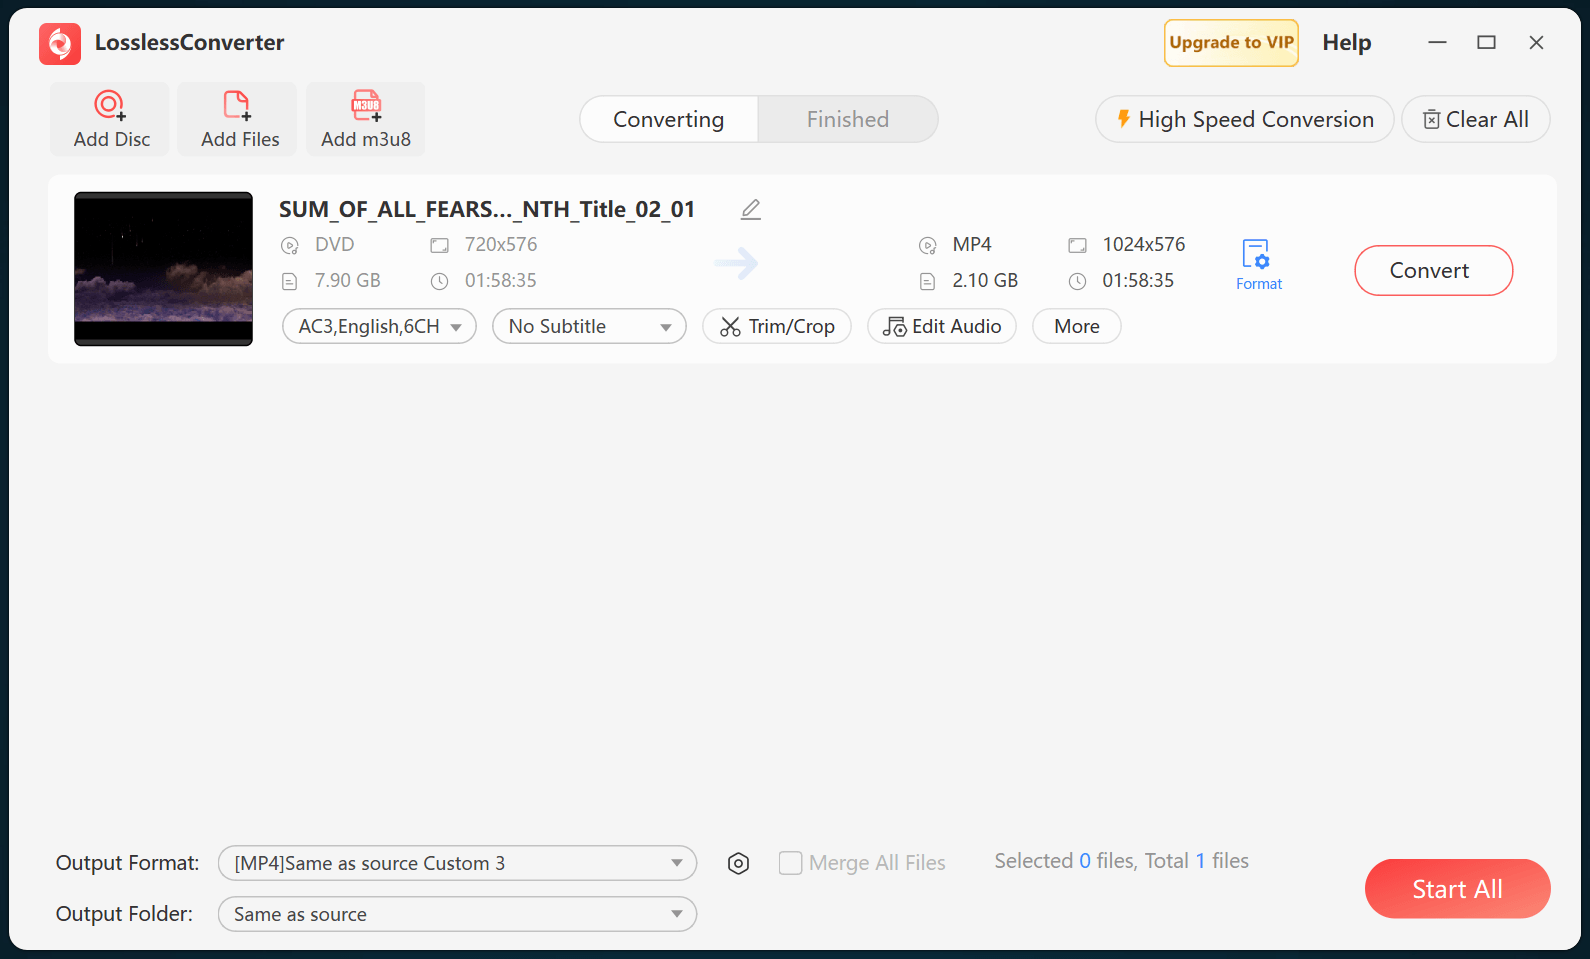
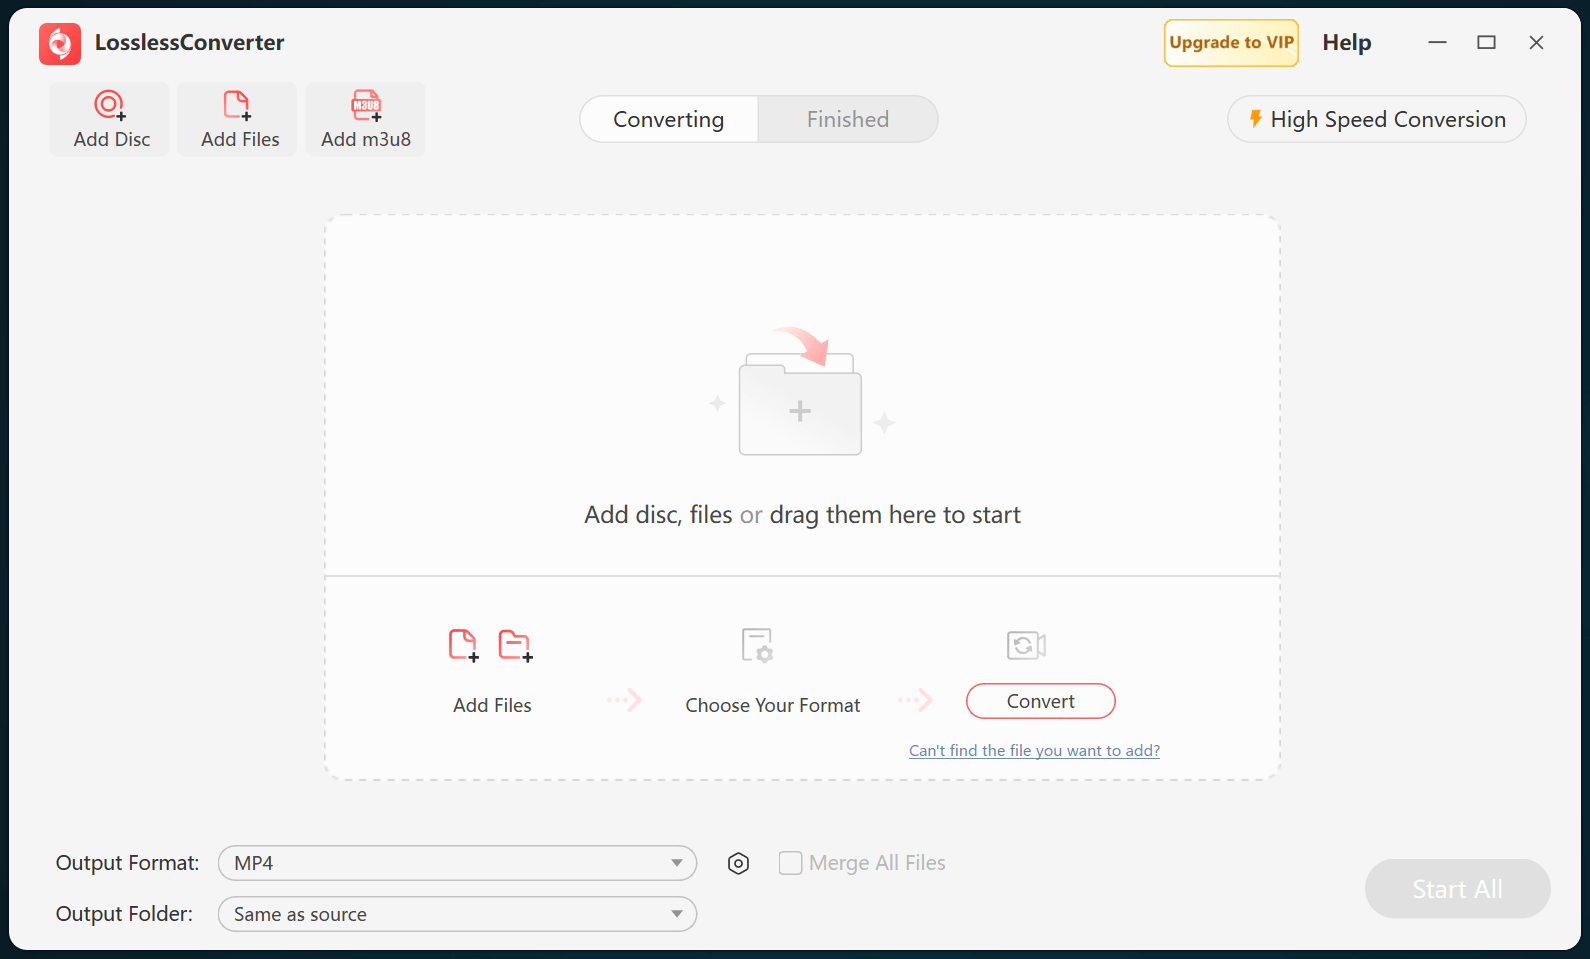
Open LosslessConverter and select Add Files. Add the Canon MXF clips and select the files required for this workflow.

LosslessConverter main window with the source controls visible
Source toolbarLoad the source from the main toolbar.
02

Create a broadly compatible file

Choose Video > MP4

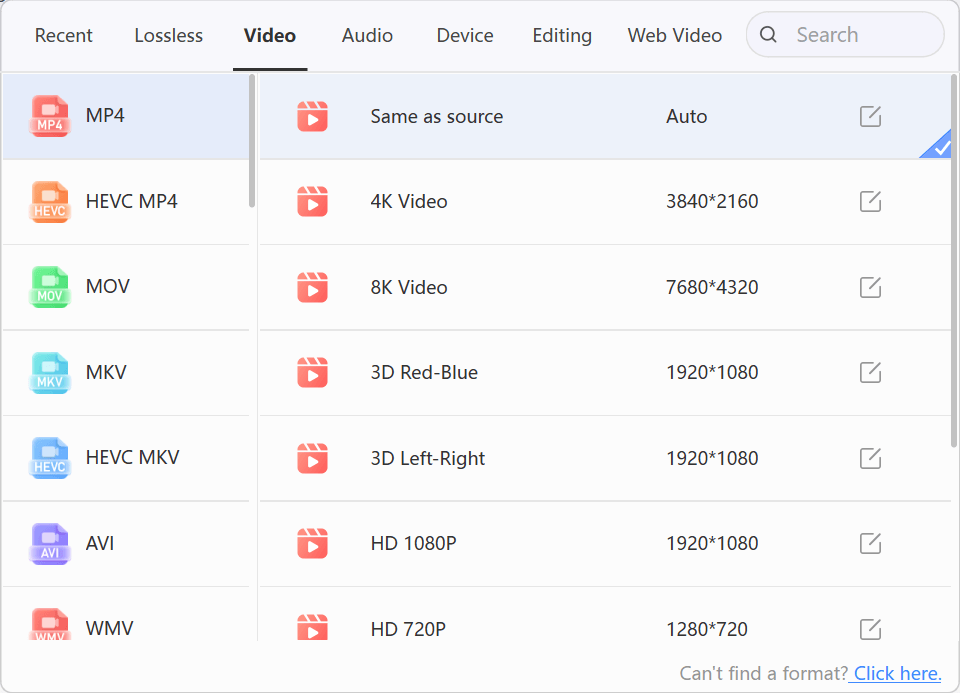
Open Output Format, select the Video group, and choose MP4. Start with Same as source, then change resolution only when the destination requires it.

LosslessConverter Output Format menu with Video and MP4 selected
MP4Select Video, then choose MP4.
03

Create the current output

Select Start All, then verify in Windows or Mac playback

Choose an output folder and select Start All. When processing finishes, open the MP4 files on the destination system and verify picture, frame rate, and audio.

LosslessConverter main window with Start All ready at the lower right
Start AllRun the task, then verify the result.

Try it with your own media

Process one file, verify the result, then run the full batch.

The free version limits many processing operations to the first three minutes. Check compatibility and trial limits.