A legacy camcorder workflow reference
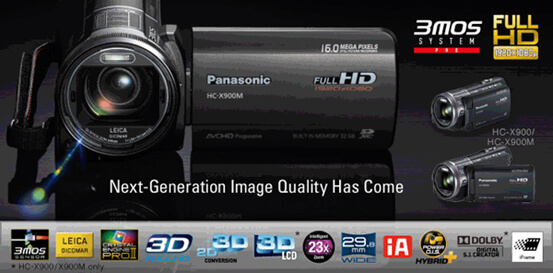
The Panasonic HC-X900 and HC-X900M are older AVCHD camcorders. This guide is for owners working with existing recordings, not a current camera recommendation. It explains how to identify the recording structure and prepare media for a modern editor without changing more than the workflow requires.
Identify the AVCHD mode
HC-X900 recordings can differ by resolution, frame rate, progressive or interlaced scan, audio layout, and 3D mode. Inspect the clip properties before choosing an output. Keep the complete PRIVATE/AVCHD camera folder when available: playlists and metadata help an editor interpret spanned clips and recording settings that an isolated MTS file cannot describe.
Use current editor support
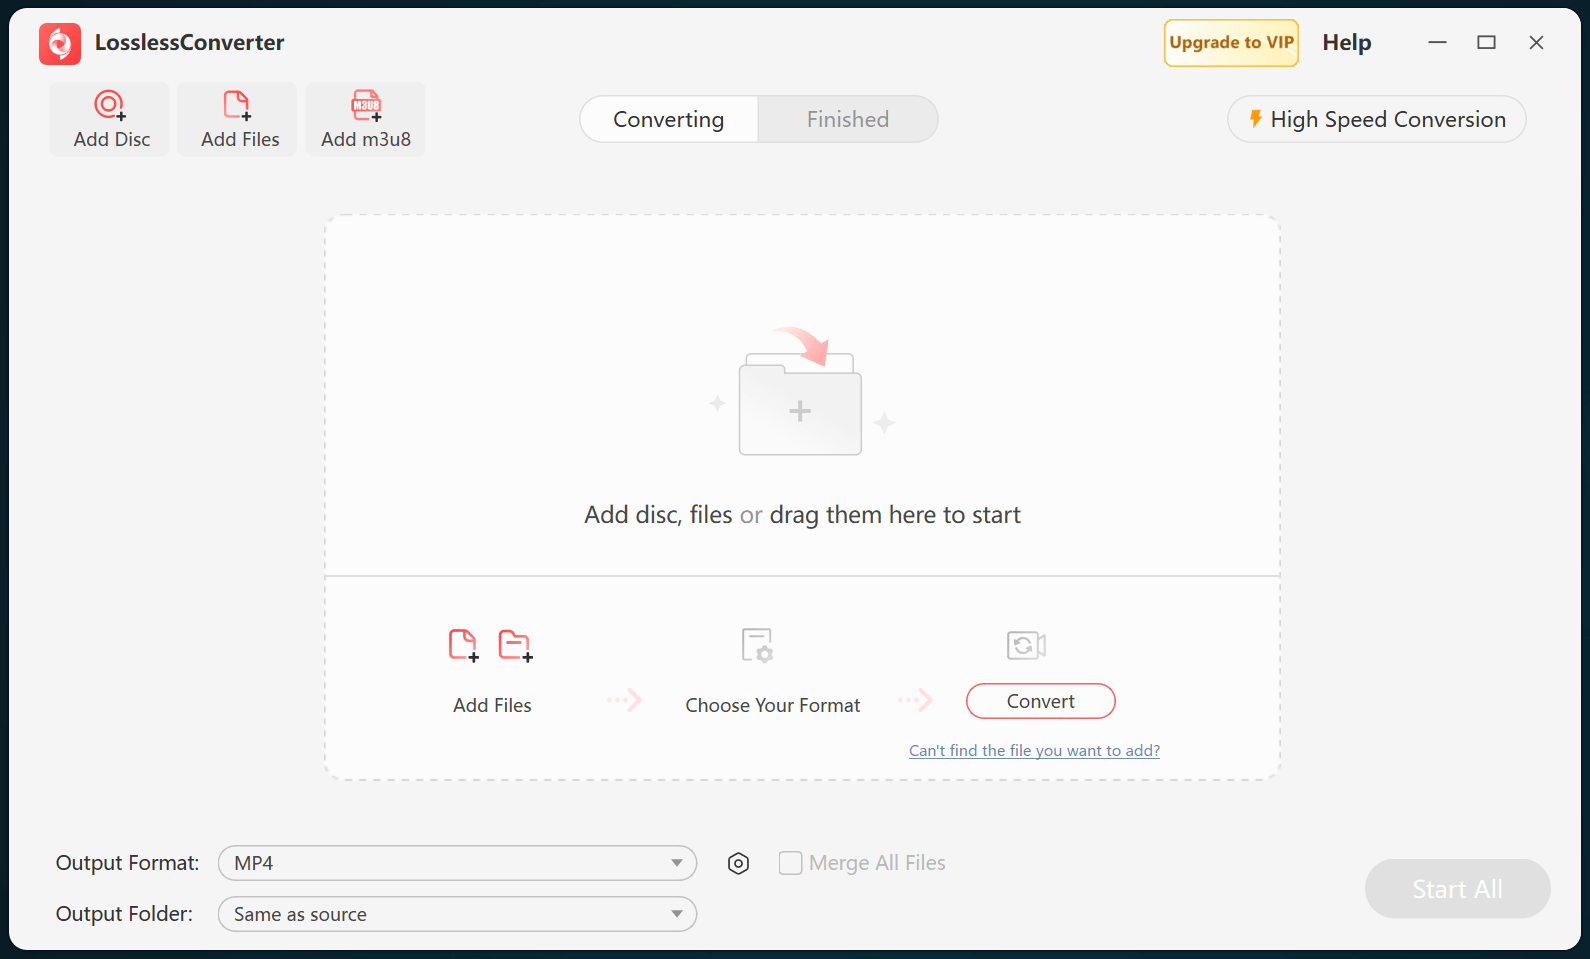
Try the current editor's camera or AVCHD import workflow first. If native import works, keep the original media in the project. Create a ProRes, DNxHD, or other documented editing copy only when the source mode is unsupported, the folder structure is incomplete, or long-GOP decoding makes the timeline unreliable. Preserve 50p or 60p when the project is meant to retain high-frame-rate motion; do not replace it with 25p or 30p just because a preset is easier to find.
Test before processing a shoot
Open one representative clip and verify resolution, cadence, interlacing, color, picture detail, audio channels, timecode, and sync in the intended editor. Check both the start and a spanned-clip boundary. Keep the source card structure until the project and every converted file have passed review.