Camera workflow

Convert Canon C300 1080i MXF to ProRes

Deinterlace and prepare Canon Cinema footage for Final Cut Pro.

Updated September 4, 2026By

The free version limits many processing operations to the first three minutes. Check compatibility and trial limits.

  • Camera footageCamera or camcorder files
  • Choose ProResOutput matched to this workflow
  • Final Cut Pro checkVerify before batch processing

Before you begin

Check the camera format before choosing a workflow.

Keep the original card structure when available, then confirm the codec, frame rate, scan type, and editor support before converting.

Prepare Canon C300 MXF for Final Cut Pro

Current Final Cut Pro support depends on the Canon codec, camera structure, plug-ins, and installed software. Try the original card structure before creating ProRes media.

Do not deinterlace every 1080i source automatically. Keep interlacing when the project and delivery remain interlaced; deinterlace only for a progressive workflow and inspect motion and fine edges. Match resolution and frame rate, then verify picture, audio, and timecode.
Workflow direction

Follow the intended workflow below.

Deinterlace and prepare Canon Cinema footage for Final Cut Pro.

Three-step workflow

Create and verify one test output before processing the full batch.

Deinterlace and prepare Canon Cinema footage for Final Cut Pro.

01

Add the source

Load the Canon C300 1080i MXF clips

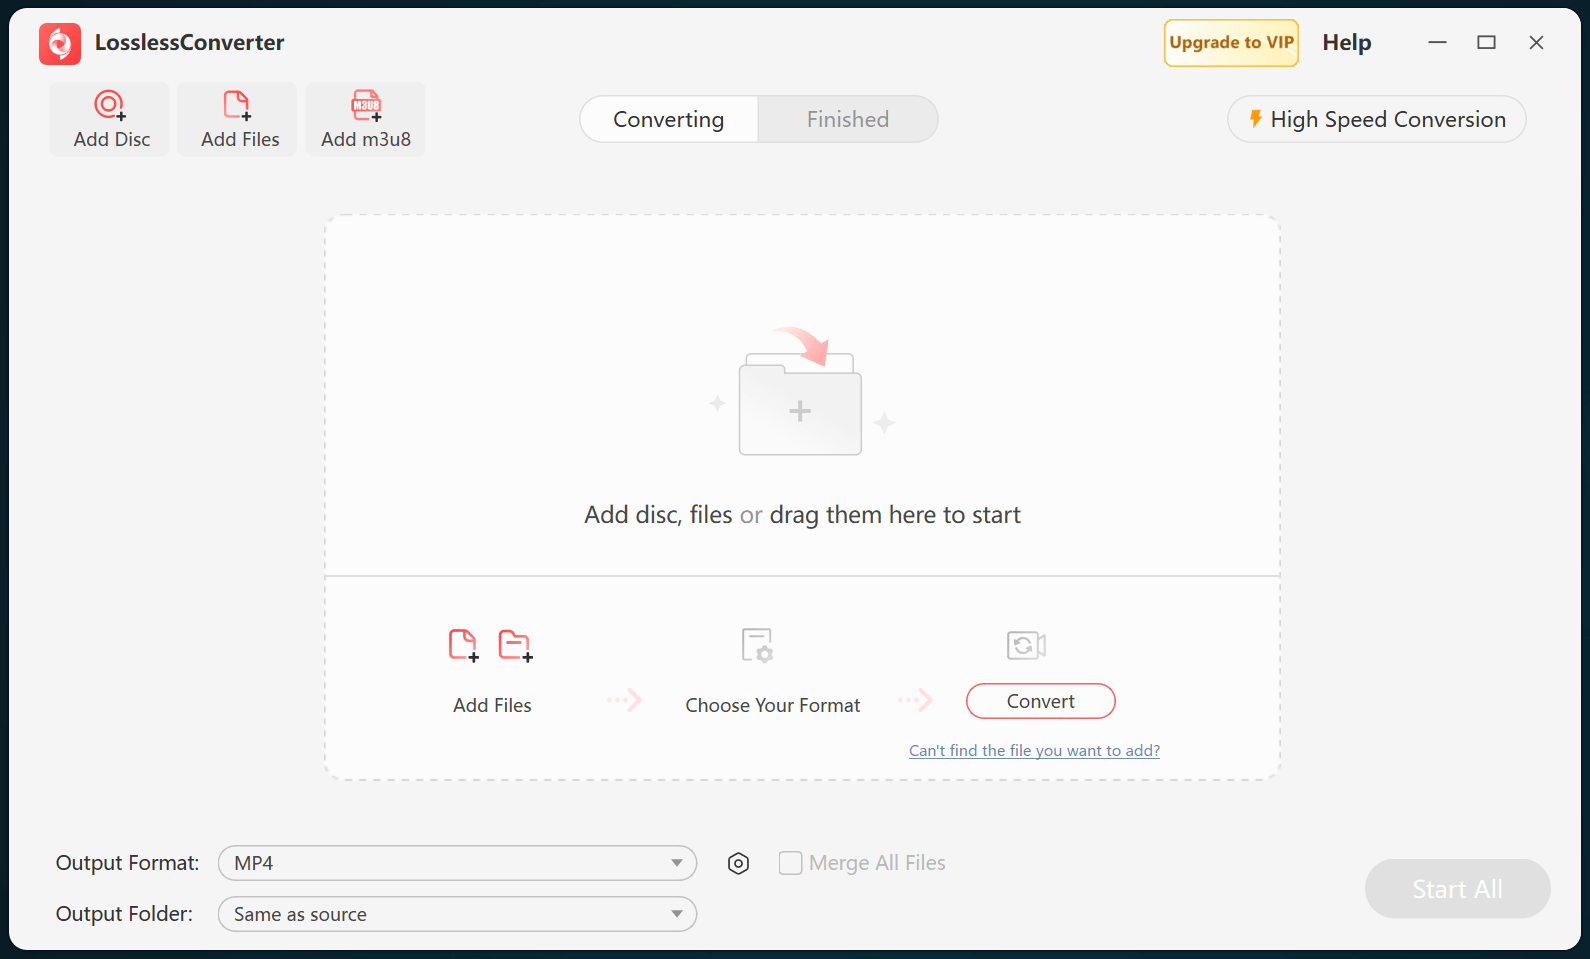
Open LosslessConverter and select Add Files. Add the Canon C300 1080i MXF clips and select the files required for this workflow.

LosslessConverter main window with the source controls visible
Source toolbarLoad the source from the main toolbar.
02

Create editing-ready media

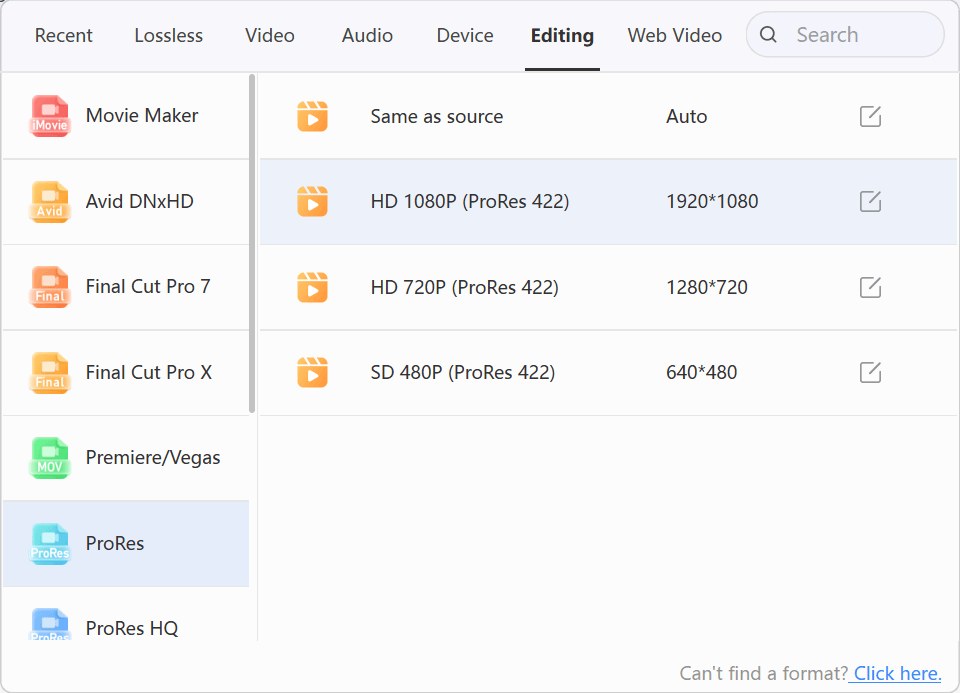
Choose Editing > ProRes

Open Output Format, select the Editing group, and choose ProRes. Select Same as source to retain the source dimensions; choose HD 1080P or HD 720P only when the project deliberately uses that resolution.

LosslessConverter Output Format menu with Editing and ProRes selected
ProResSelect Editing, then choose ProRes.
03

Create the current output

Select Start All, then verify in Final Cut Pro

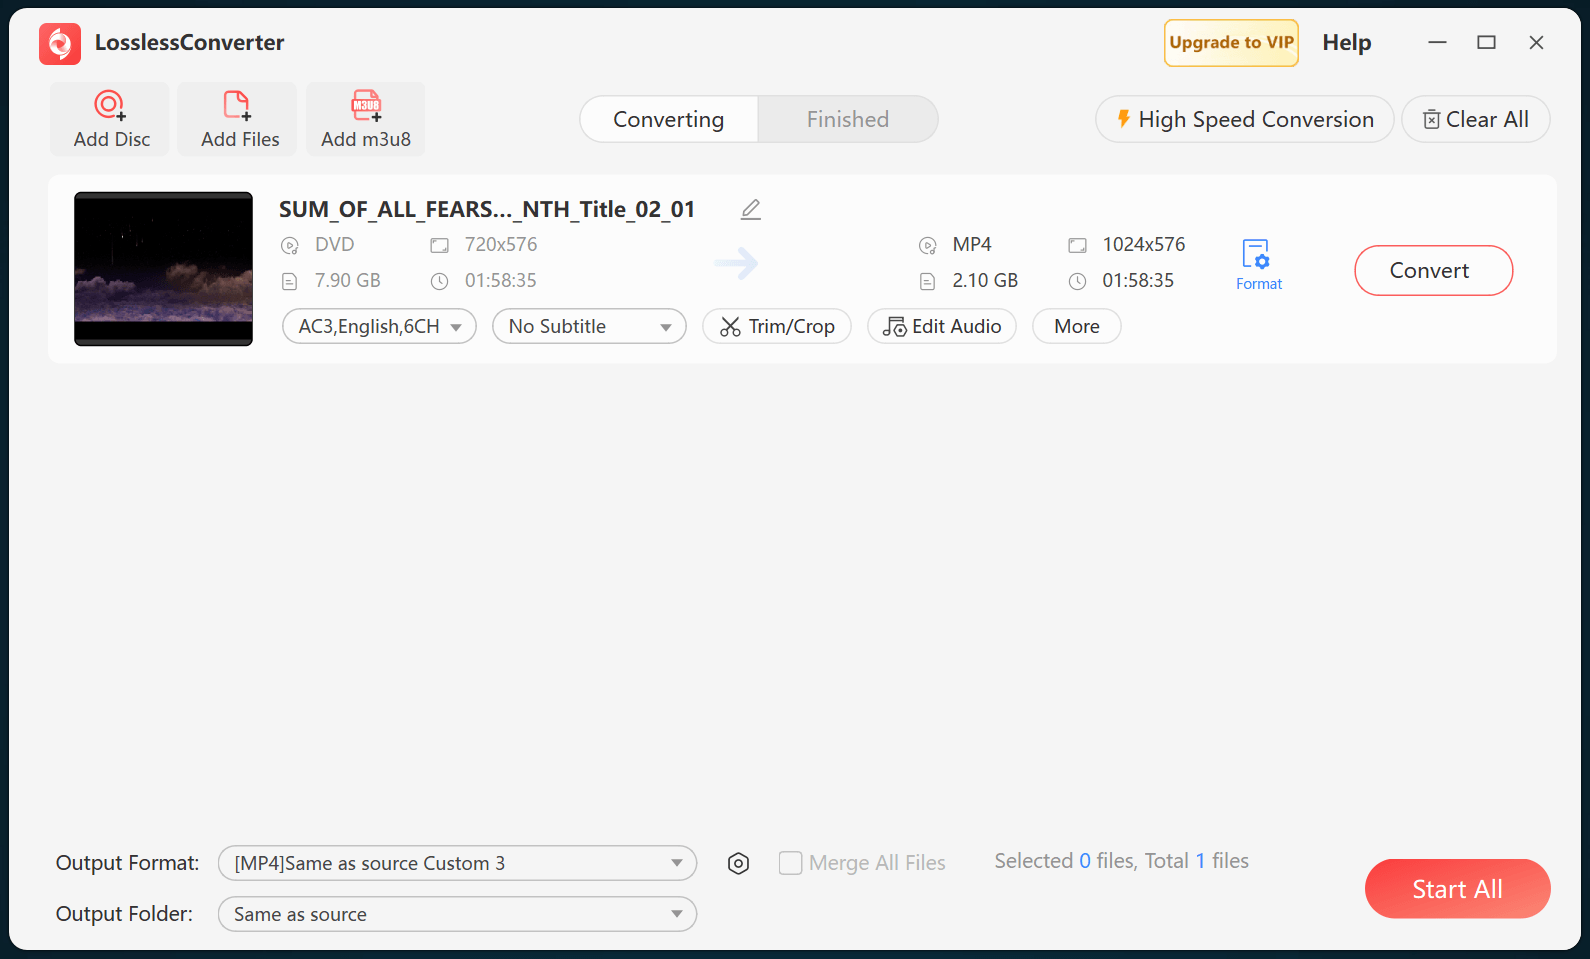
Choose an output folder and select Start All. When processing finishes, import the ProRes MOV files into Final Cut Pro and verify field handling, picture, timecode, and audio.

LosslessConverter main window with Start All ready at the lower right
Start AllRun the task, then verify the result.

Try it with your own media

Process one file, verify the result, then run the full batch.

The free version limits many processing operations to the first three minutes. Check compatibility and trial limits.

Primary sources

Official references for this workflow

Use these first-party references to confirm current format, application, or device support. Capabilities can change after this guide is updated.