Check the recording format, not just the camera name
Do not install an old Canon XF plug-in simply because your footage came from a Canon camera. Current Final Cut Pro lists MXF containers, XF-AVC and XF-HEVC among its supported formats. Start with the original camera media and check the exact camera model and recording mode.
This guide was reviewed for Final Cut Pro 12.3, released June 30, 2026. LosslessConverter has also been verified compatible with the current macOS release, macOS Tahoe 26. Final Cut Pro has its own system and feature requirements; compatibility with LosslessConverter does not replace those checks.
Which Canon formats need a plug-in?
- XF-AVC or XF-HEVC in MXF: these formats are on Apple's current support list. Try native import with the complete camera-card structure first. A supported container name does not guarantee that every recording mode, damaged clip or incomplete copy will import.
- Older Canon XF MPEG-2 recordings: check the exact model against Apple's supported-camera list. For example, the XF100 and XF300 families are listed with MPEG-2 recording. Do not treat every Canon XF model as the same format.
- Canon Cinema RAW Light (.crm): this is a separate RAW workflow. Apple instructs users to install the Canon RAW Plugin for Final Cut Pro and keep Final Cut Pro and Pro Video Formats current. It is not the old XF plug-in used by Final Cut Pro 6/7.
The old Log and Transfer instructions for Final Cut Pro 6 and 7 are not the workflow for Final Cut Pro 12.3. When a component is required, obtain the current version from Apple or Canon for the exact camera, macOS version and Mac architecture. Avoid third-party archives of obsolete plug-ins.
Try native import before converting
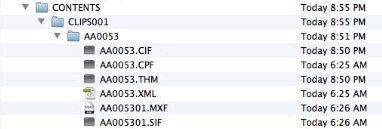
Copy the complete card
Preserve folders, companion metadata and spanned clips. Keep this backup separate from any editing copies; do not collect only the .mxf files if the camera's structure is still available.
Check updates and import the source
Confirm the installed Final Cut Pro release and review Software Update for Pro Video Formats. Install a Canon component only when the documented recording format requires it. In Final Cut Pro, choose File > Import > Media and select the camera media or its complete backup. Import one representative clip before bringing in a full shoot.
Inspect the imported clip
Check duration, frame rate, image geometry, audio channels, timecode and the start and end of spanned recordings. If native import fails or playback is unreliable, use the LosslessConverter workflow below to create a ProRes MOV, then verify the picture, audio, color and sync in Final Cut Pro.
Follow the separate Cinema RAW Light workflow
For .crm files, use Apple's Cinema RAW Light import instructions and Canon's matching RAW plug-in. Import into Final Cut Pro, verify the Canon Log/color-space interpretation, then decide whether optimized or proxy media is useful.
Do not rename a .crm file to .mxf or assume that a general MXF conversion preset replaces a RAW decoder. This article does not claim that LosslessConverter converts every Canon RAW recording mode.
When a ProRes editing copy is useful
If native import works and playback is responsive, keep the original media. If import works but playback is slow, first consider Final Cut Pro's optimized or proxy media rather than creating an unrelated full-resolution copy.
Use LosslessConverter for supported Canon MXF footage when the editor still cannot decode it reliably or when your workflow needs a separate ProRes MOV intermediate. Choose Output Format > Editing > ProRes, select a suitable ProRes variant, and retain the recording's dimensions and frame rate. For interlaced or Log footage, check scan type and color handling before converting.
ProRes conversion re-encodes the picture; it is not a lossless rewrap and does not guarantee that every camera metadata field survives. Import the test MOV into Final Cut Pro and check picture, audio channel mapping, timecode, color and sync. Keep the original card backup even after the editing copy works.
Convert Canon MXF with LosslessConverter
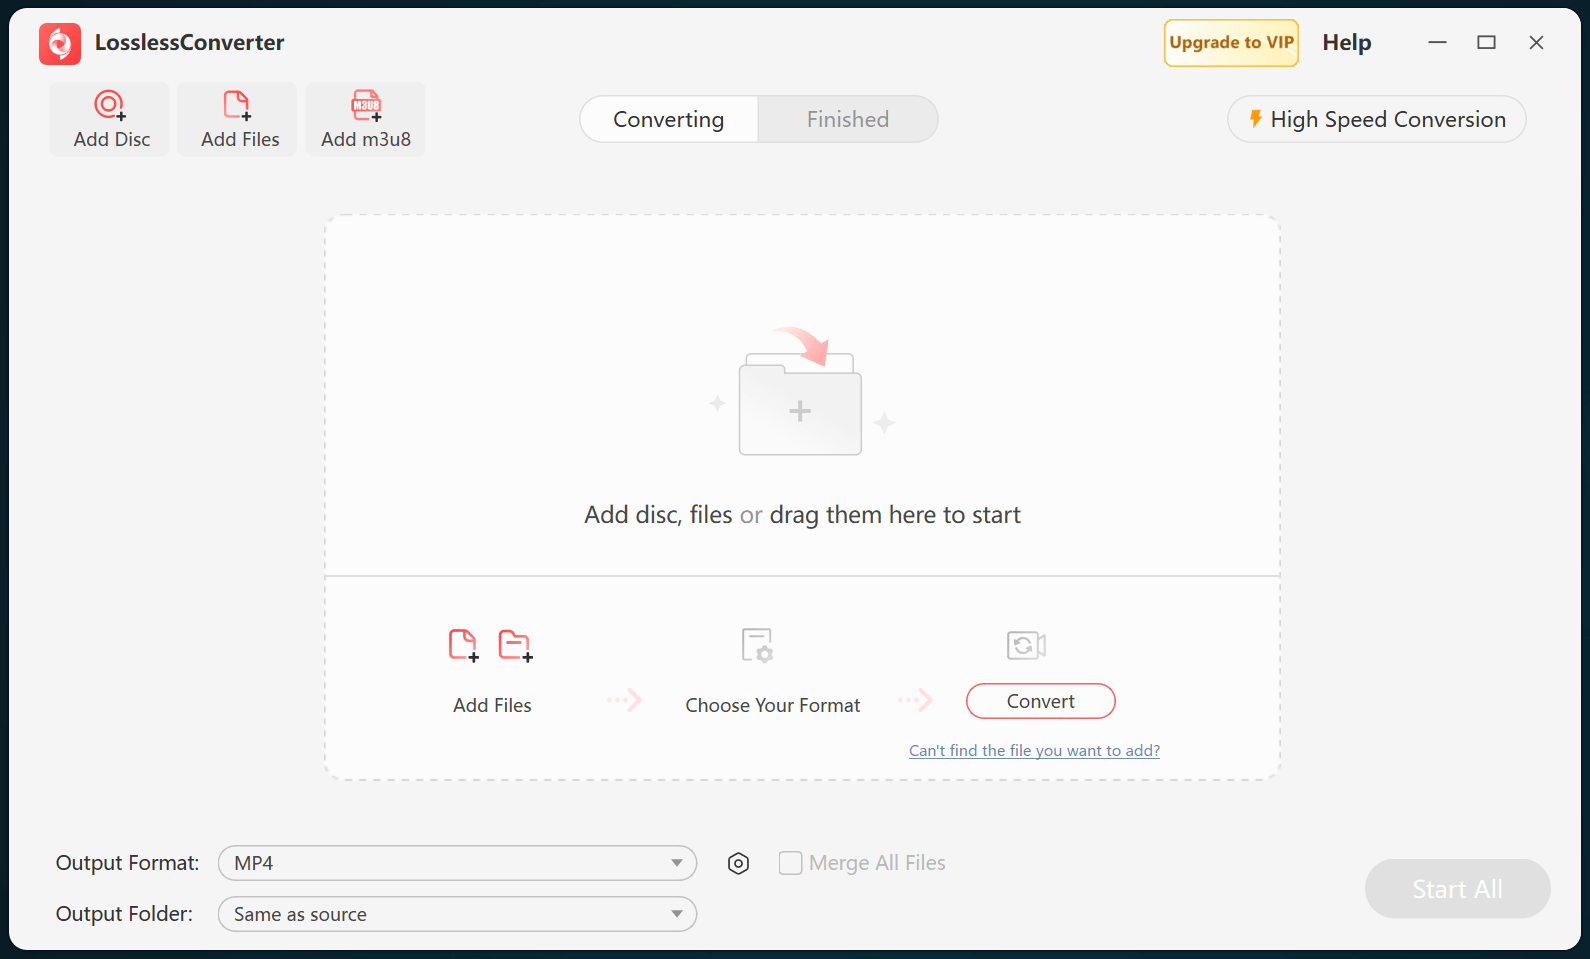
- Choose Add Files in LosslessConverter and add the Canon MXF clips that Final Cut Pro cannot import or play reliably.
- Open Output Format > Editing > ProRes. Keep the source resolution and frame rate, then check the scan type, audio layout and color settings.
- Select Start All, import the ProRes MOV into Final Cut Pro and verify picture, audio channels, timecode, color and sync.
For the complete file-by-file workflow, see Import MXF files into Final Cut Pro.
What to check before requesting help
If a clip still fails, record the camera model, recording format, codec, frame rate, macOS and Final Cut Pro versions, whether the full card structure is present, and the exact error message. This separates a missing decoder or incomplete card copy from a problem that conversion can actually resolve.
For a step-by-step conversion example rather than plug-in selection, continue to the Canon XF300 workflow or the general MXF import guide.