MXF workflow

Make unsupported MXF work in DaVinci Resolve

Convert camera or broadcast MXF codecs that Resolve cannot decode directly.

Updated September 4, 2026By

The free version limits many processing operations to the first three minutes. Check compatibility and trial limits.

  • MXF mediaCamera or broadcast MXF
  • Choose DNxHDOutput matched to this workflow
  • Editor-ready mediaVerify before batch processing

Problem and solution

Identify the MXF codec before choosing a workflow.

Check the codec, audio layout, metadata, and camera folder structure, then confirm what the destination can import directly.

How to Import MXF files to DaVinci Resolve 9/10/11/12

DaVinci Resolve is a valuable on set tool for logging and organizing footage. As it claimed, DaVinci Resolve allows full unlimited editing and grading of DPX, CIN, EXR, QuickTime, ProRes, DNxHD and MXF files all in real time. But things are different when we import MXF to Davinci Resolve for editing: DaVinci won't import the MXF files... What we need is to find a fast way to get around the MXF Files to Davinci Resolve incompatible issue.

Based on our multiple testing, we finally work out a solution to editing MXF Files in DaVinci Resolve flawlessly. In fact, it is easy, fast and worth the effort. The best way to let DaVinci Resolve work with MXF clips is to convert these MXF files to Davinci Resolve most compatible format like DNxHD. LosslessConverter is just what you want.
How to convert and import MXF files to Davinci Resolve

Solution direction

Apply the solution in the workflow below.

Convert camera or broadcast MXF codecs that Resolve cannot decode directly.

Three-step workflow

Create and verify one test output before processing the full batch.

Convert camera or broadcast MXF codecs that Resolve cannot decode directly.

01

Add the media

Load the MXF media

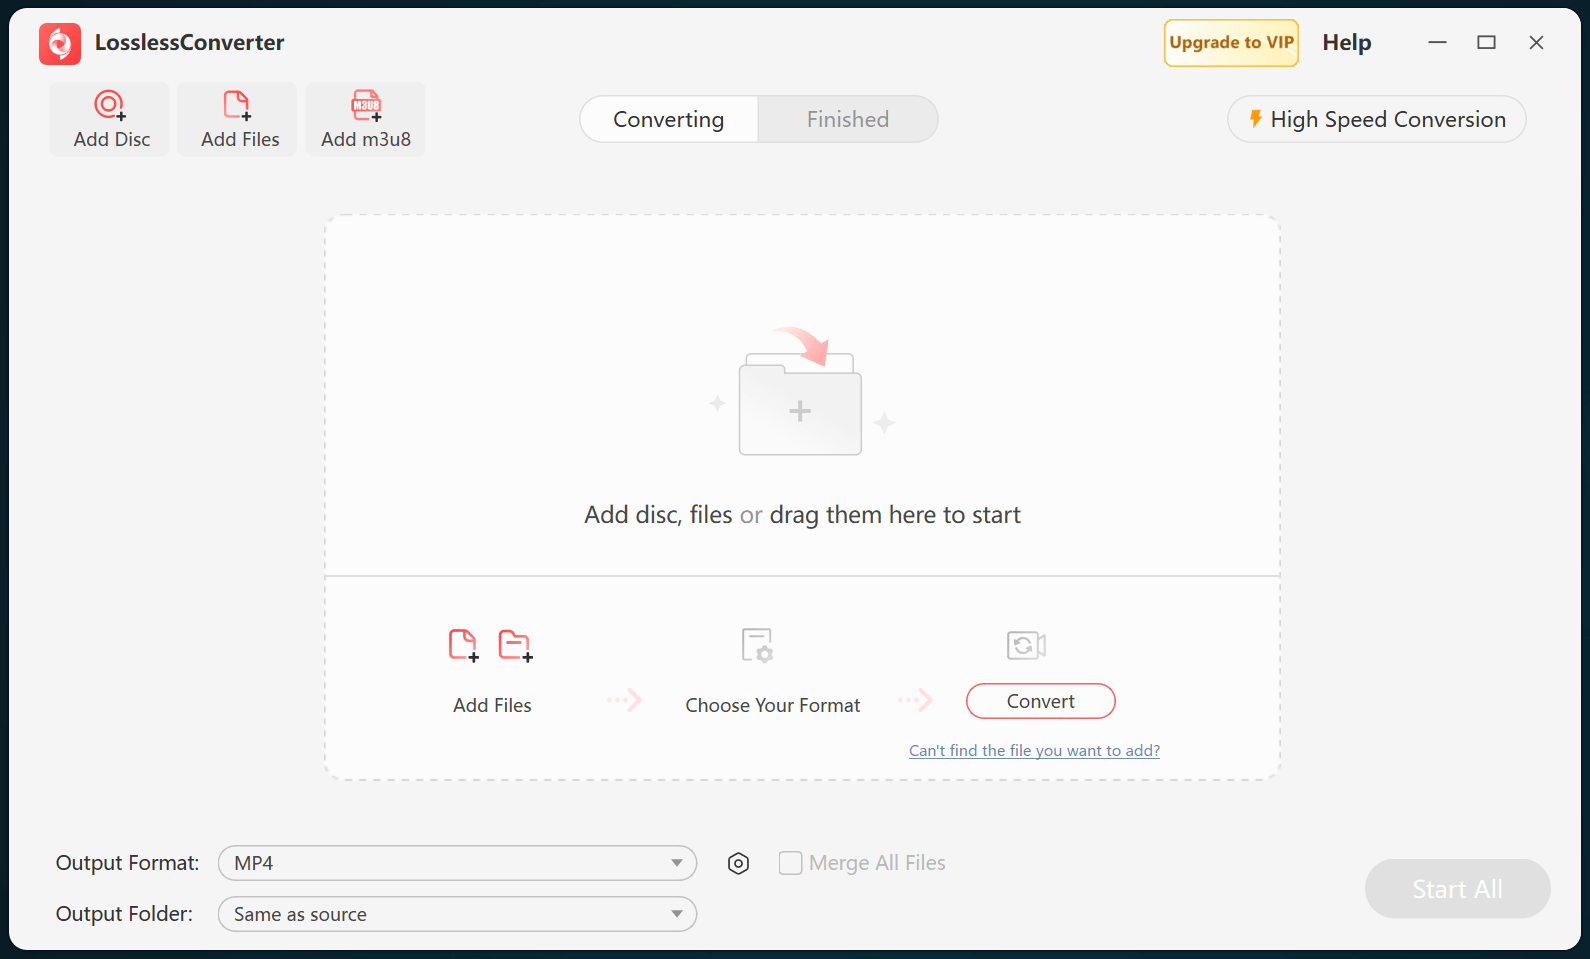
Open LosslessConverter and select Add Files. Add the camera or broadcast MXF clips that DaVinci Resolve cannot decode directly.

LosslessConverter main window with the source controls visible
Source toolbarLoad the source from the main toolbar.
02

Match DaVinci Resolve

Choose an Avid DNxHD MOV profile

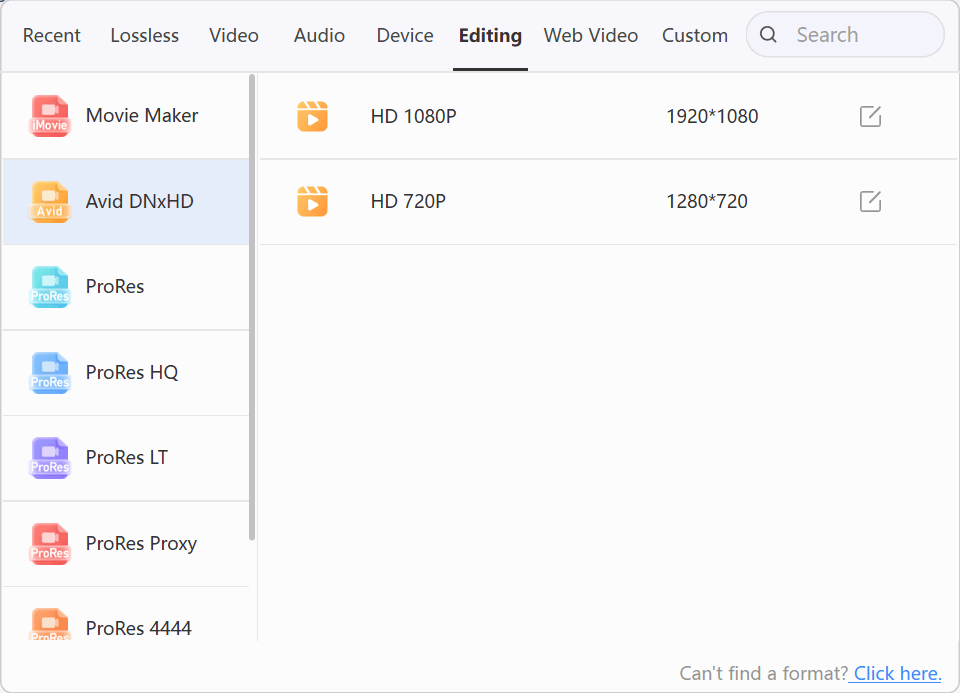
Open Output Format, select the Editing group, and choose Avid DNxHD. Use HD 1080P for a 1920 x 1080 timeline or HD 720P for a 1280 x 720 timeline.

LosslessConverter Output Format menu with Editing and Avid DNxHD selected
Avid DNxHDSelect Editing, then choose Avid DNxHD.
03

Create the editing media

Select Start All, then import into DaVinci Resolve

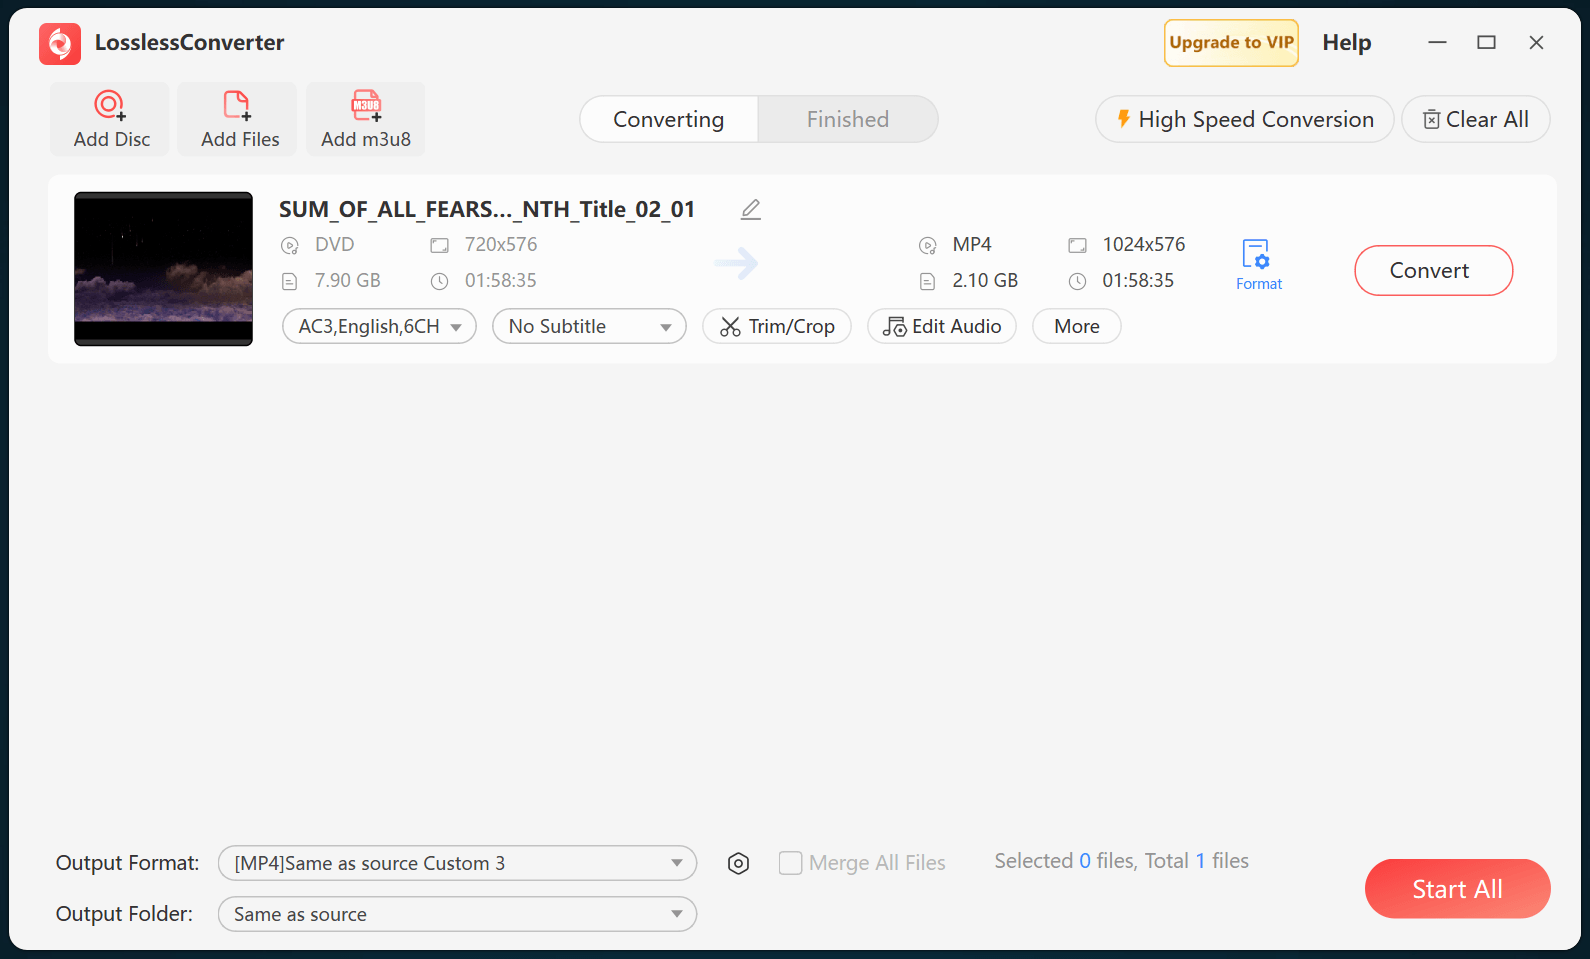
Choose an output folder and select Start All. When processing finishes, import the DNxHD MOV files into DaVinci Resolve and verify picture, frame rate, and audio before editing.

LosslessConverter main window with Start All ready at the lower right
Start AllRun the task, then verify the result.

Try it with your own media

Process one file, verify the result, then run the full batch.

The free version limits many processing operations to the first three minutes. Check compatibility and trial limits.

Primary sources

Official references for this workflow

Use these first-party references to confirm current format, application, or device support. Capabilities can change after this guide is updated.