MTS and M2TS guide

Import 60p/50p AVCHD into Final Cut Pro

Keep motion cadence consistent when converting high-frame-rate camera footage.

Updated September 4, 2026By

The free version limits many processing operations to the first three minutes. Check compatibility and trial limits.

  • MTS/M2TS footageAVCHD or M2TS files
  • Choose ProResOutput matched to this workflow
  • Editor-ready mediaVerify before batch processing

Before you begin

Check the AVCHD source before choosing a workflow.

Keep the original camera folder when available, then confirm the recording mode, frame rate, and destination support before converting.

Preserve high-frame-rate AVCHD

Current Final Cut Pro releases can import supported AVCHD media, including high-frame-rate recordings from compatible cameras. Try the complete camera folder first and use conversion only when native import or playback is unreliable.

For a 60p or 50p project, retain the source frame rate. Convert to 30p, 29.97p, or 25p only when the delivery timeline intentionally requires that cadence, because lowering the rate discards temporal samples and changes motion.

Workflow direction

Keep motion cadence consistent when converting high-frame-rate camera footage.
Recommended output

Use the output parameters required by this guide.

Only parameters stated by this workflow are shown. Match any remaining settings to the source and destination.

Container
MOV
Video
ProRes 422
Resolution
1920 x 1080
Frame rate
59.94 / 60 / 50 fps

Four-step workflow

Create and verify one test output before processing the full batch.

Keep motion cadence consistent when converting high-frame-rate camera footage.
01

Add the footage

Load the 60p or 50p AVCHD clips

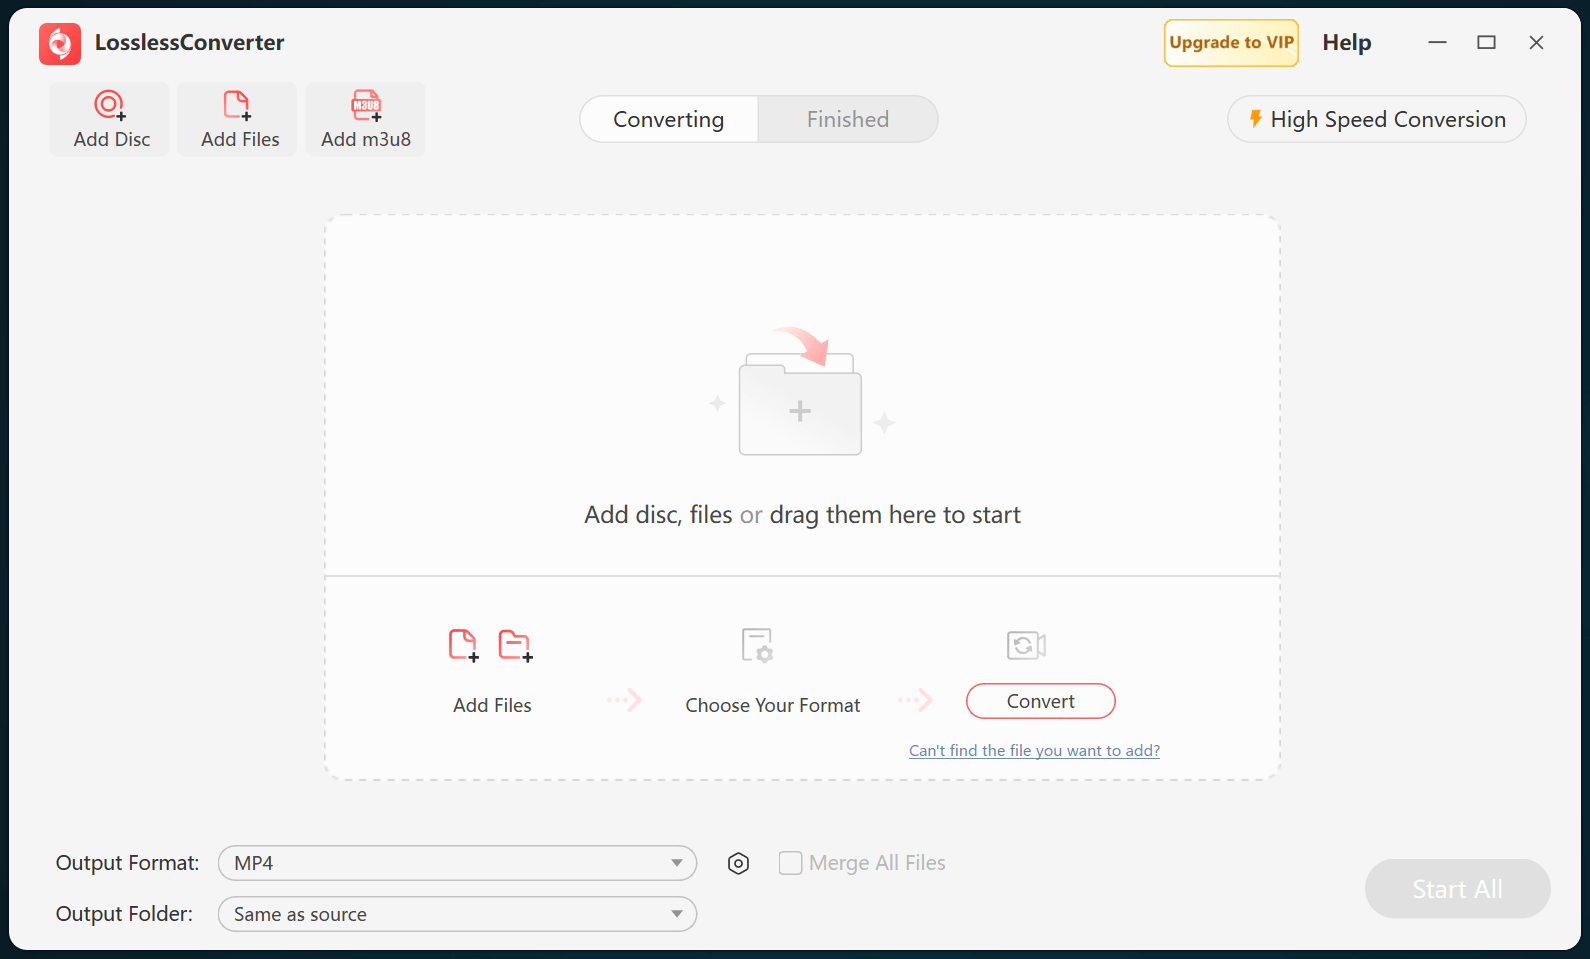
Open LosslessConverter and select Add Files. Add the AVCHD MTS or M2TS clips that you want to prepare for Final Cut Pro.

LosslessConverter main window with the source controls visible
Source toolbarLoad the source from the main toolbar.
02

Match Final Cut Pro

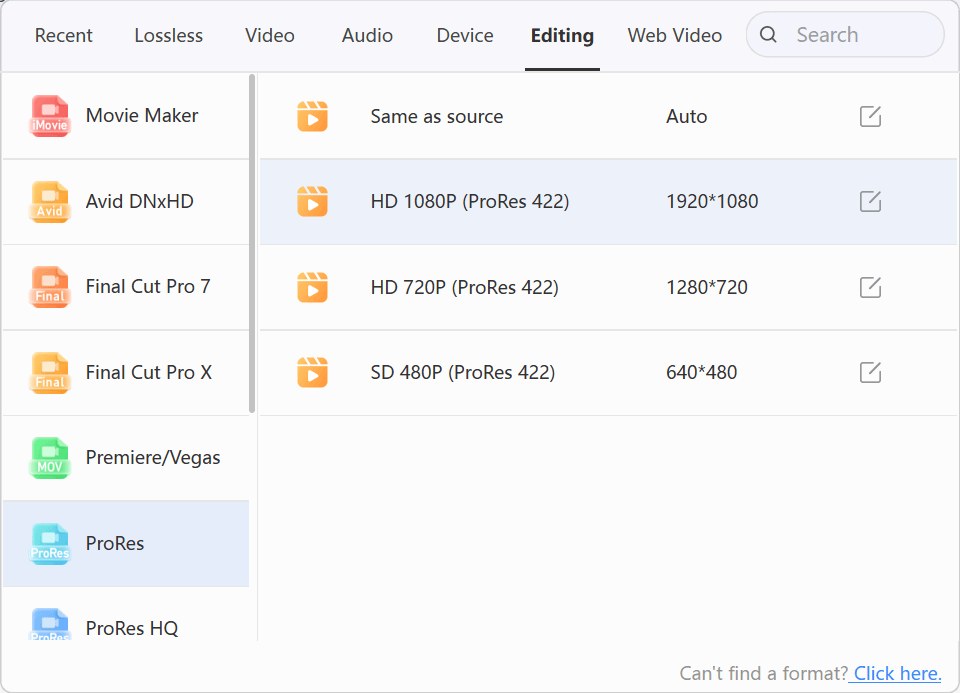
Choose Editing > ProRes

Open Output Format and choose the Apple ProRes profile that fits the project. ProRes 422 is a practical default; use HQ only when its higher data rate is justified by the source and workflow.

LosslessConverter Output Format menu with Editing and ProRes selected
ProResSelect Editing, then choose ProRes.
03

Set the editing rate

Match resolution and target frame rate

Keep 1920 x 1080 for Full HD. Use 59.94 or 60 fps for 60p sources and 50 fps for 50p sources unless the project deliberately uses a lower frame rate; keep PCM audio when the selected profile provides it.

LosslessConverter main window with the output settings control visible
Output settingsChange only the values required by the destination.
04

Create the editing media

Select Start All, then test in Final Cut Pro

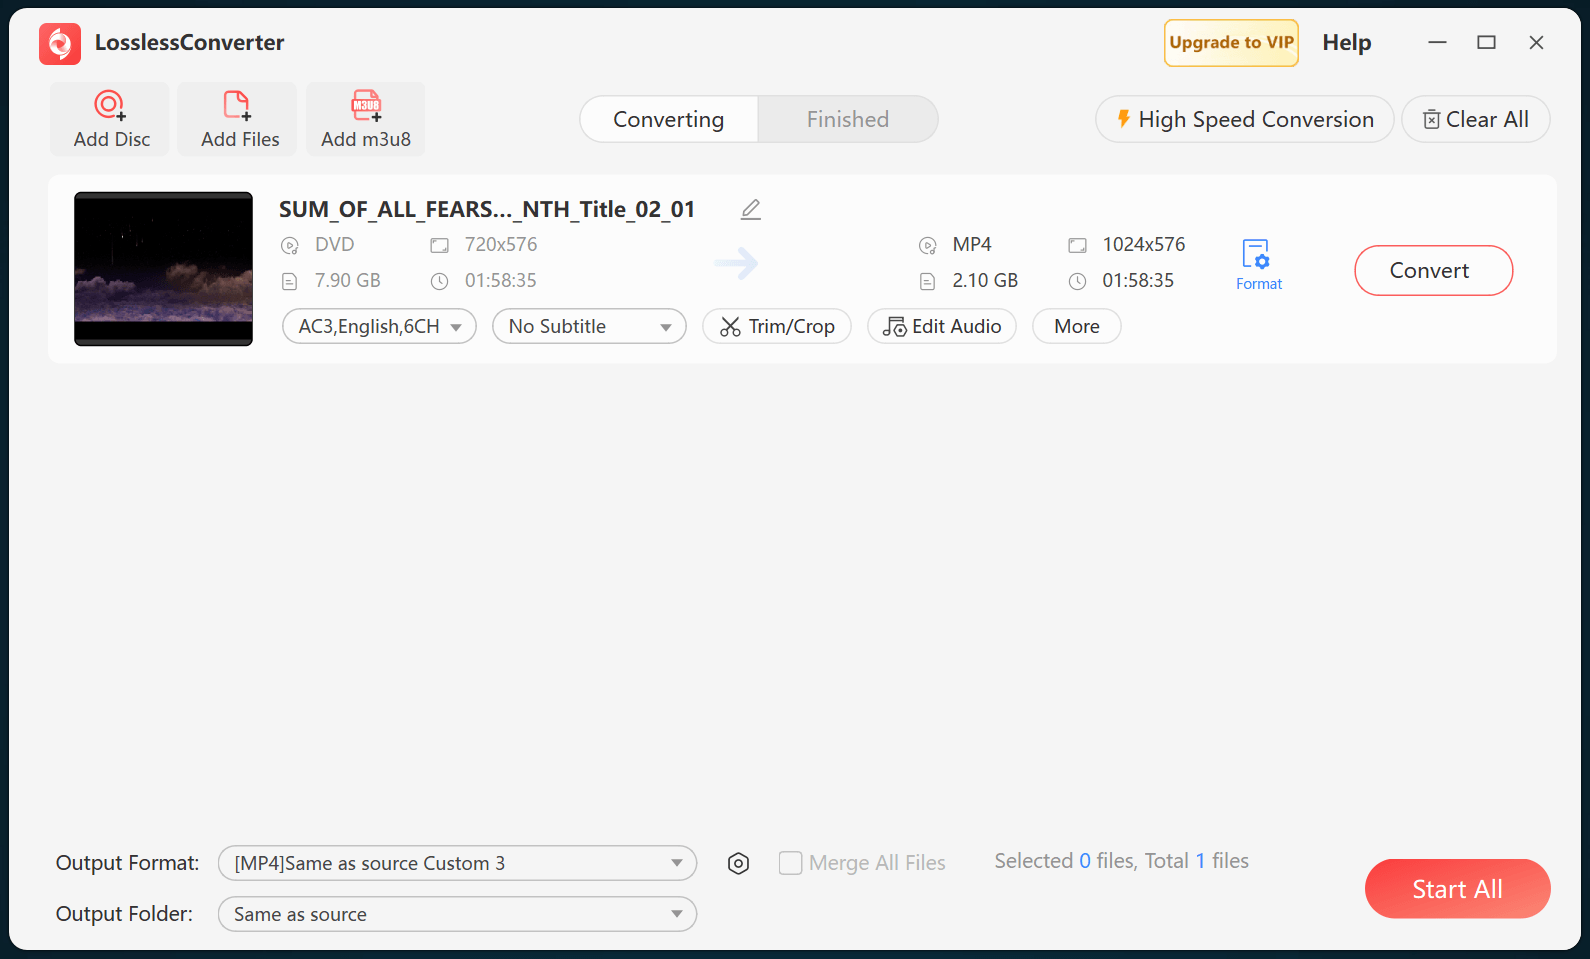
Choose an output folder and select Start All. Import the finished ProRes files into Final Cut Pro and verify cadence, picture, and sound before editing.

LosslessConverter main window with Start All ready at the lower right
Start AllRun the task, then verify the result.

Try it with your own media

Process one file, verify the result, then run the full batch.

The free version limits many processing operations to the first three minutes. Check compatibility and trial limits.

Primary sources

Official references for this workflow

Use these first-party references to confirm current format, application, or device support. Capabilities can change after this guide is updated.