Blu-ray guide

How to rip a Blu‑ray/DVD collection to WD My Cloud

Move Blu-ray and DVD backups to personal cloud storage.

Updated September 4, 2026By

The free version limits many processing operations to the first three minutes. Check compatibility and trial limits.

  • Blu-ray sourceDisc, folder, or ISO
  • Choose MP4Output matched to this workflow
  • A WD My Cloud media library checkVerify before batch processing

Before you begin

Confirm the disc source and playback goal.

Select the correct title, audio, and subtitle tracks, then match the output to the player, device, or archive workflow.

Prepare disc video for WD My Cloud

Network storage holds the file; the media-server software and playback client determine which containers, codecs, audio tracks, and subtitles can be used. A file does not require conversion simply because it will be stored on a NAS.

Select the authorized disc title and create an MP4, MKV, or other format supported by the intended client. Add one output to the library and test indexing, playback, seeking, audio, subtitles, and sync across the actual network path.
Workflow direction

Follow the intended workflow below.

Move Blu-ray and DVD backups to personal cloud storage.

Three-step workflow

Create and verify one test output before processing the full batch.

Move Blu-ray and DVD backups to personal cloud storage.

01

Add the source

Load the Blu-ray or DVD disc

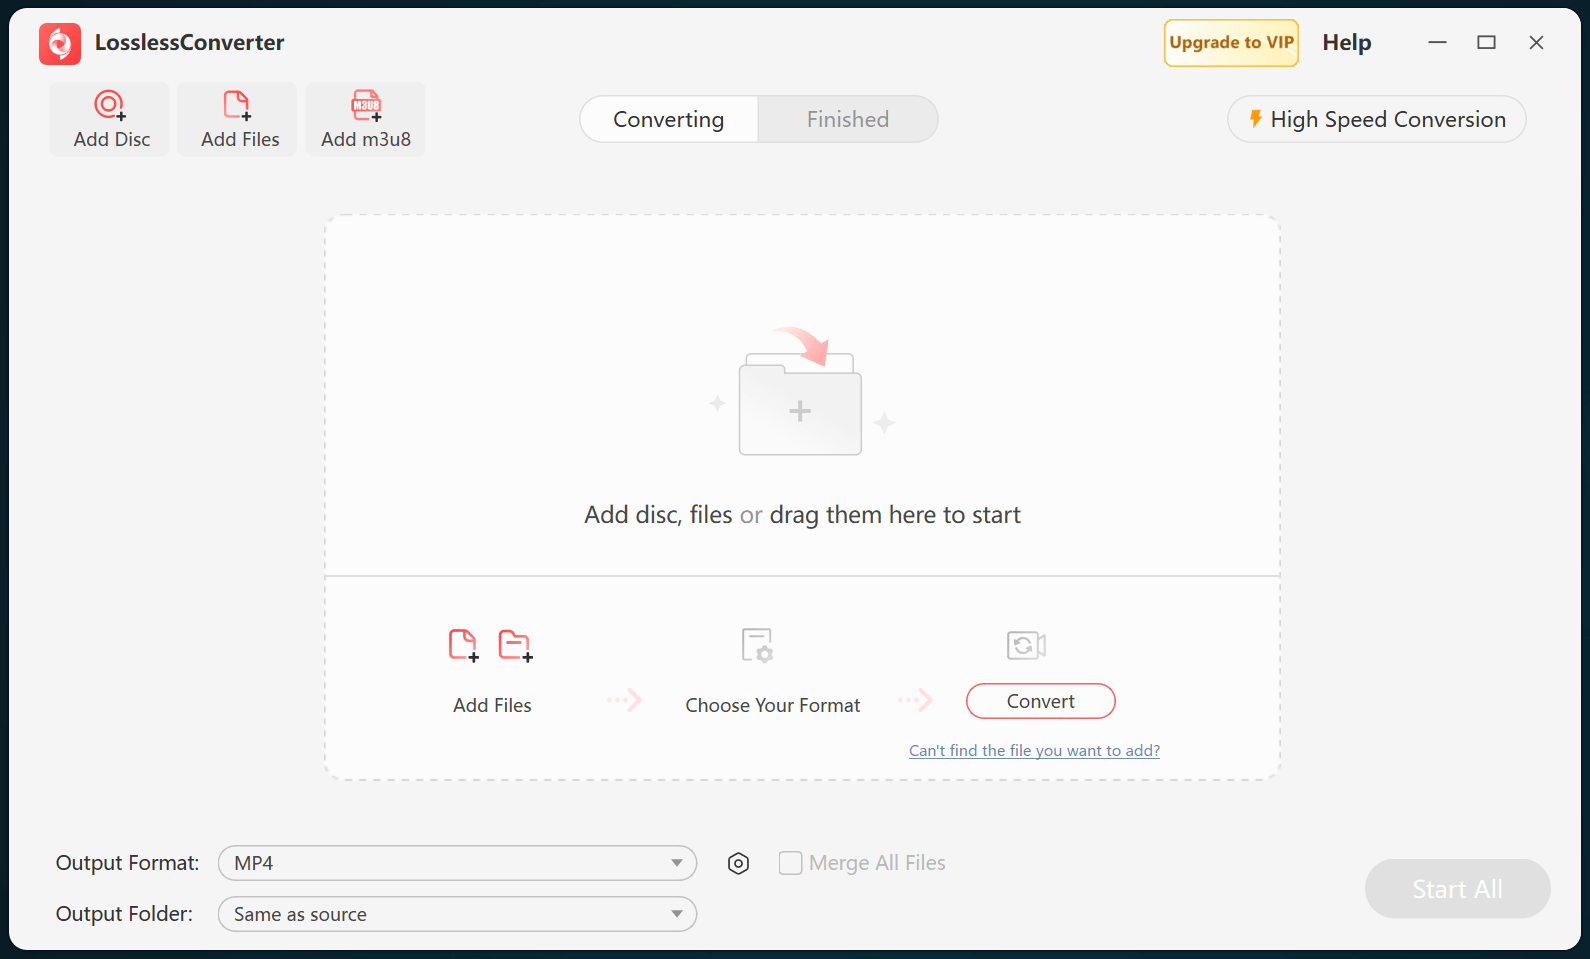
Open LosslessConverter and select Add Disc. Add the Blu-ray or DVD disc, then select the required title, audio, and subtitle tracks.

LosslessConverter main window with the source controls visible
Source toolbarLoad the source from the main toolbar.
02

Create a broadly compatible file

Choose Video > MP4

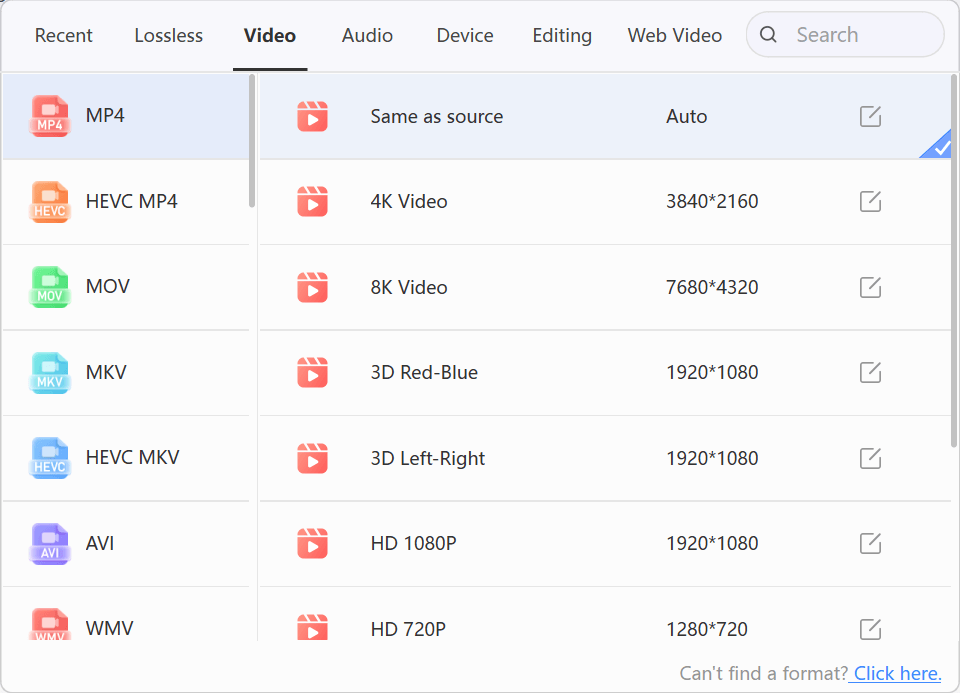
Open Output Format, select the Video group, and choose MP4. Start with Same as source, then change resolution only when the destination requires it.

LosslessConverter Output Format menu with Video and MP4 selected
MP4Select Video, then choose MP4.
03

Create the current output

Select Start All, then verify in a WD My Cloud media library

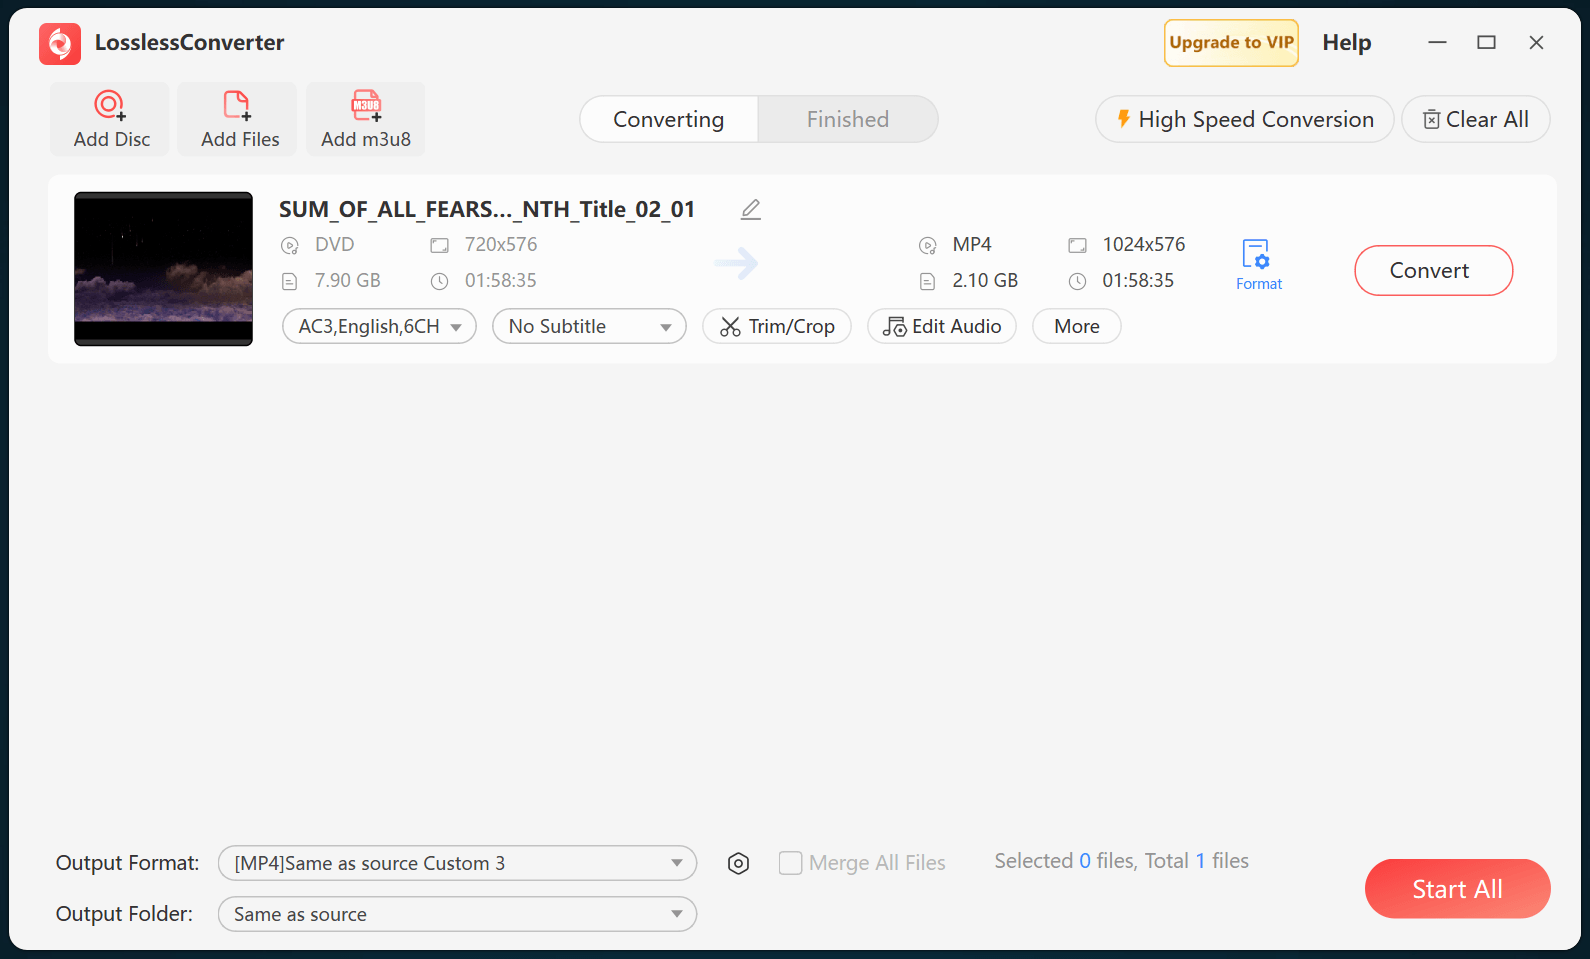
Choose an output folder and select Start All. When processing finishes, add the MP4 file to the media library and test playback, seeking, audio, and subtitles on a client device.

LosslessConverter main window with Start All ready at the lower right
Start AllRun the task, then verify the result.

Try it with your own media

Process one file, verify the result, then run the full batch.

The free version limits many processing operations to the first three minutes. Check compatibility and trial limits.